You can do this project using Visual Studio 2019, if you prefer, using these instructions.
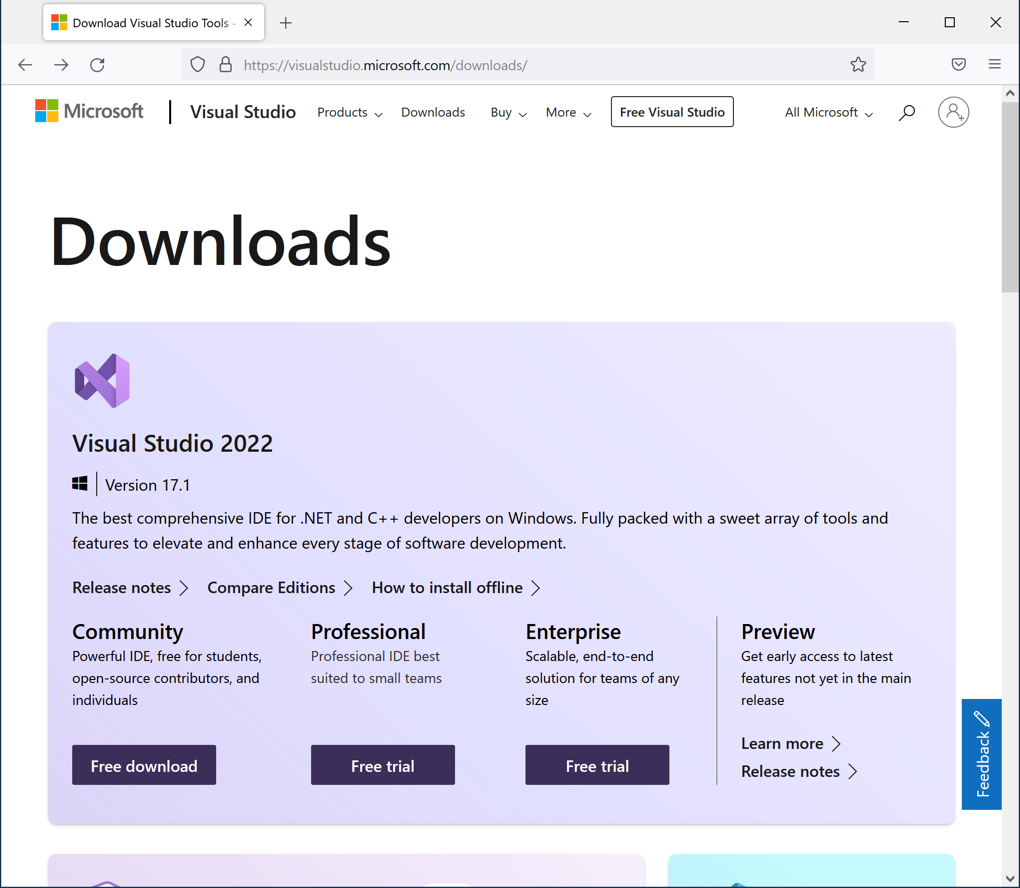
Open this page:
https://www.visualstudio.com/downloads/
In the "Community" section, click the "Free download" button, as shown below.
Run the installer.
At the security warning, click Yes to open the file. Click Continue.
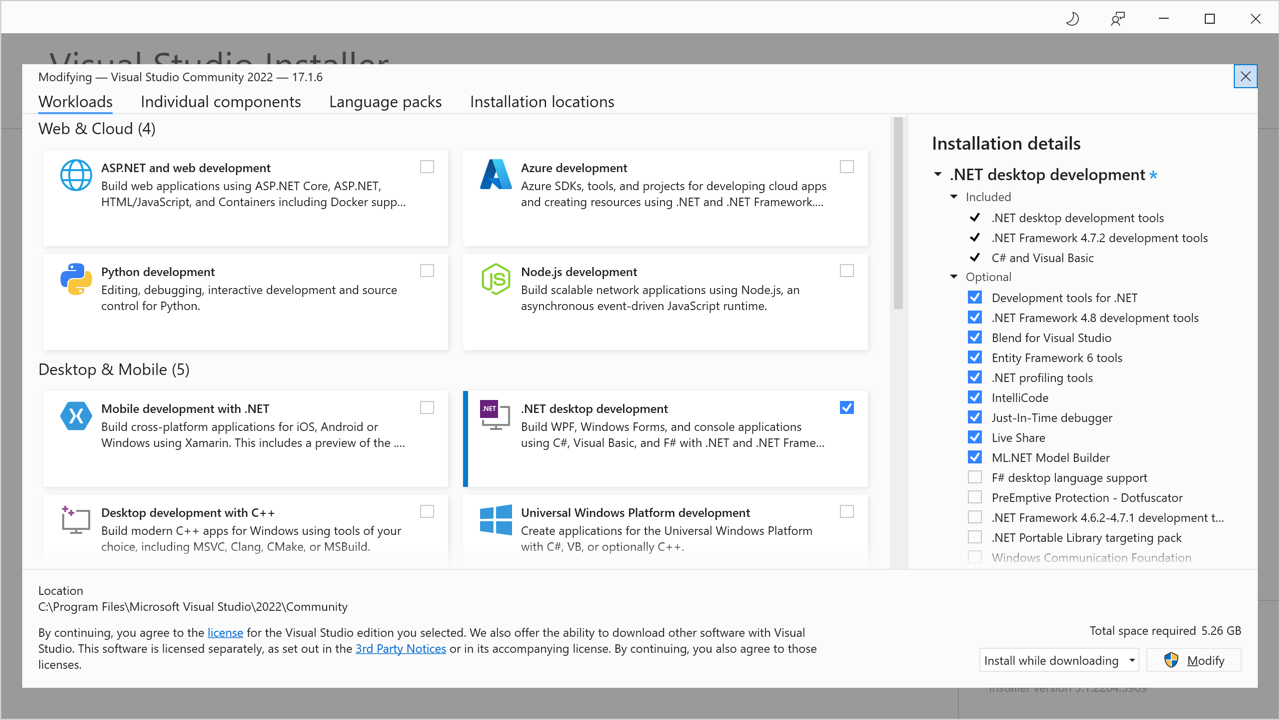
A large "Installing" window opens. Click ".Net desktop development", as shown below, and, in the lower right, click the Install button.
If a box pops up asking "Do you want to continue without workloads?", clixk Continue.
If a box pops up saying "Operating system not supported", and you are using Windows 10, click Continue.
Wait while software downloads and installs.
When you are requested to, restart your machine.
At the lower left of your desktop, in the search box, type
VISUAL
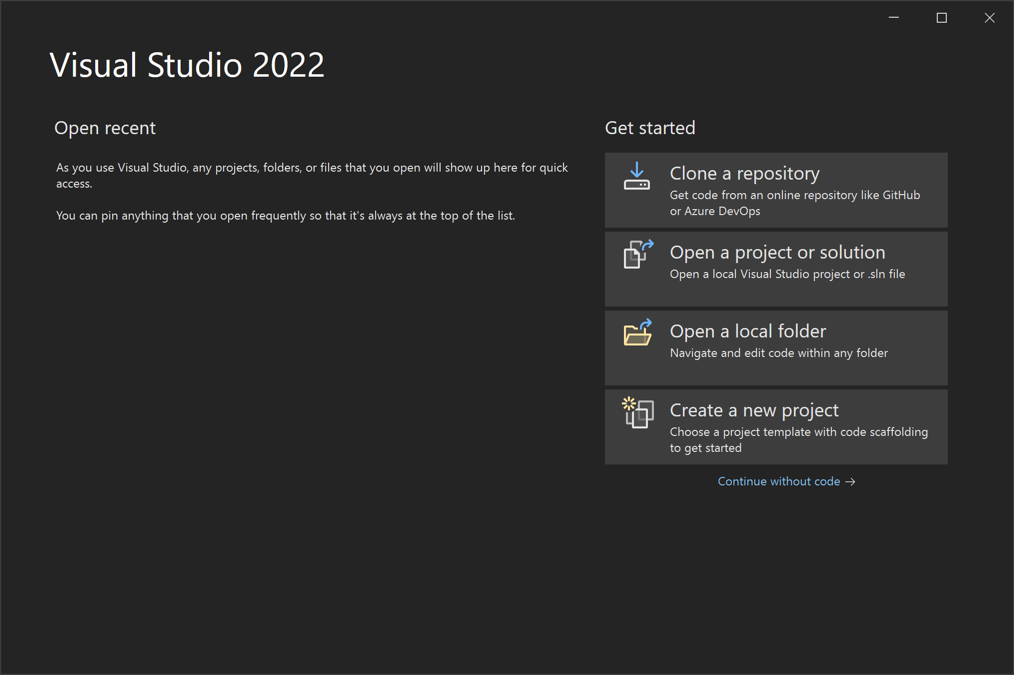
In the search results, click on "Visual Studio 2022". A box pops up saying "Welcome! Sign in to Visual Studio."
Click "Not now, maybe later".
Click the "Start Visual Studio" button.
In the "Create a new project" page, click "Console App", as shown below, and click Next.
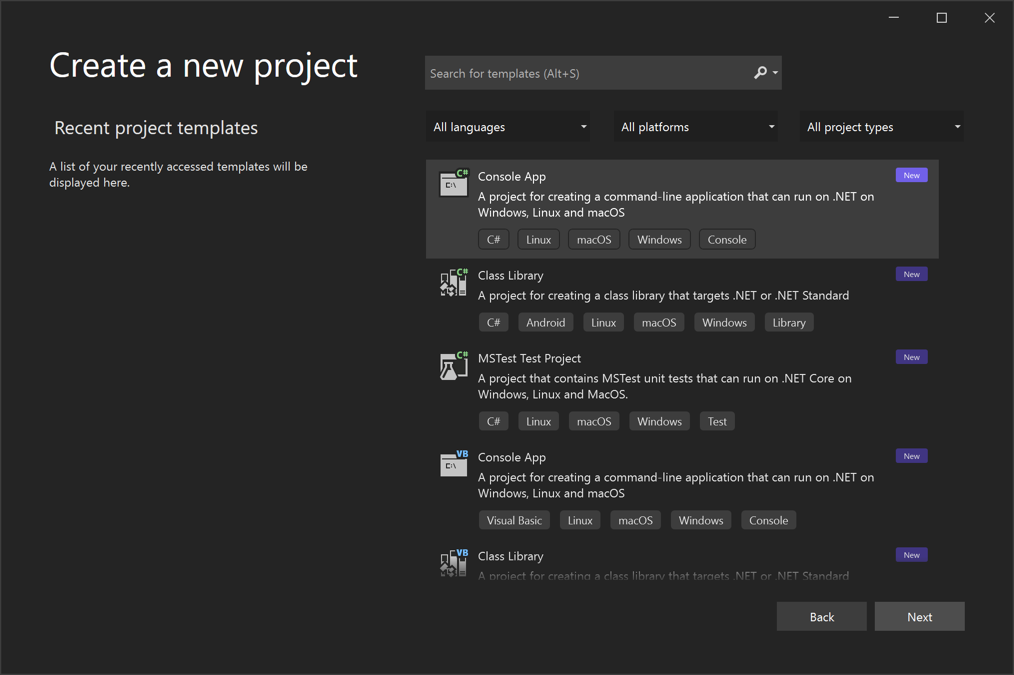
In the "Configure your new project" page, click Next. Click Create.
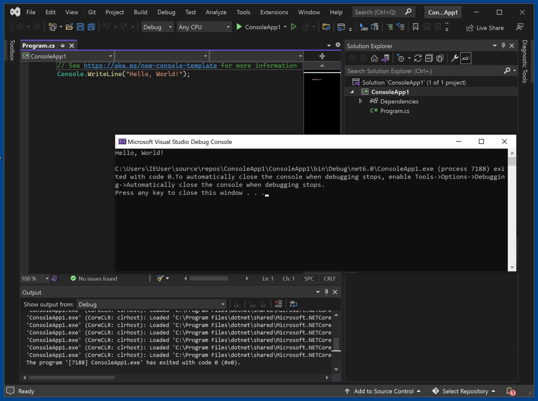
Your app appears, as shown below.
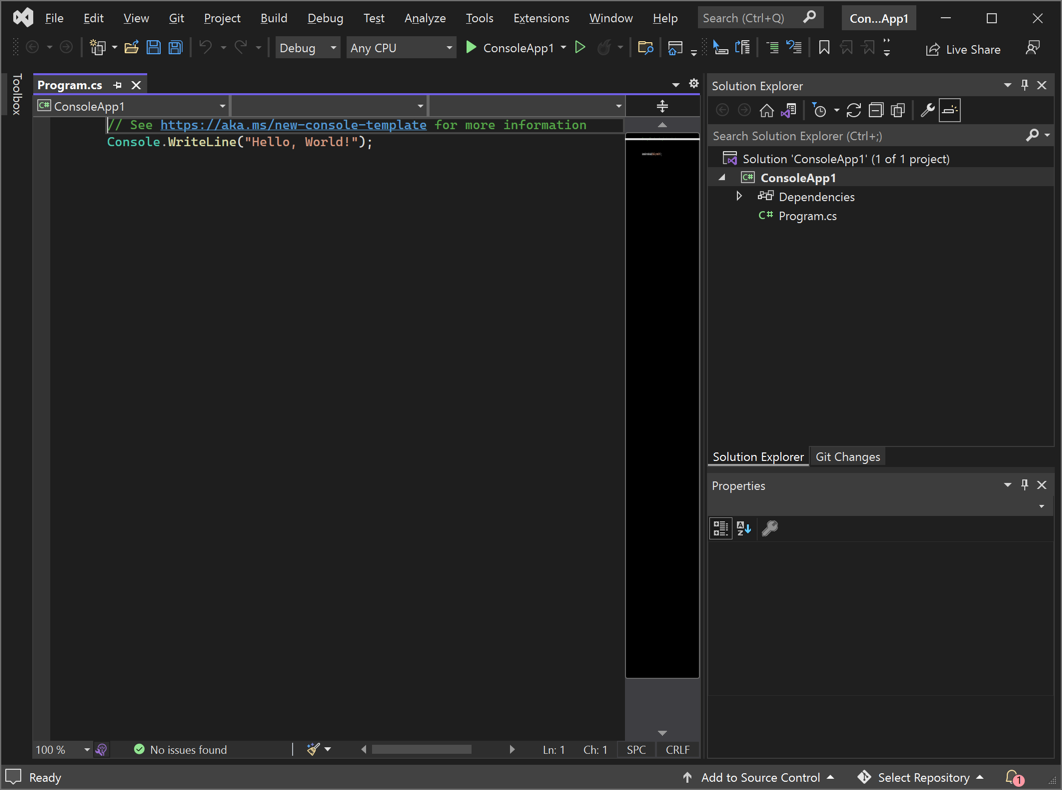
At the top center, click the green-arrow button labelled ConsoleApp1.
The program compiles and runs, printing "Hello World!" in a "Microsoft Visual Studio Debug Console" window, as shown below.
Click in the "Microsoft Visual Studio Debug Console" window and press ENTER to close it.
string s = "SHORT";
s = Console.ReadLine();
Console.WriteLine("You said: {0}", s);
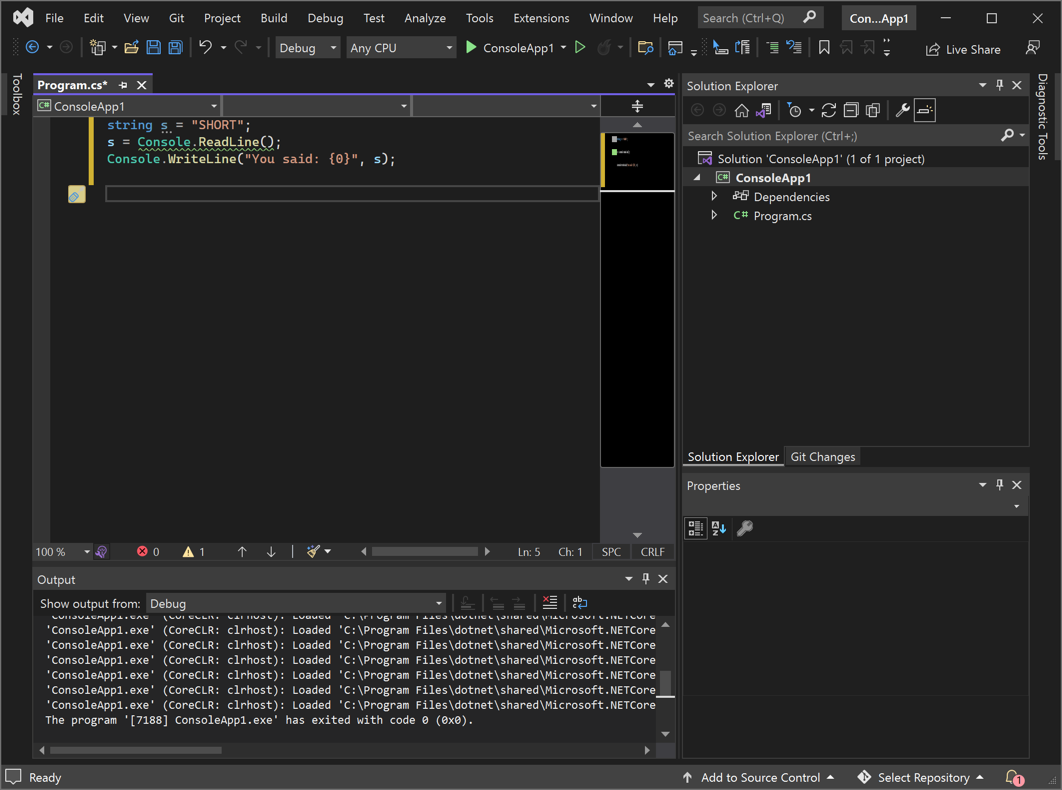
At the top center, click the green-arrow button labelled ConsoleApp1.
The program compiles and runs, opens a "Microsoft Visual Studio Debug Console" window. Enter a long string of AAAAAA characters into that window and press Enter.
The program runs without crashing, as shown below.
Click in the "Microsoft Visual Studio Debug Console" window and press ENTER to close it.
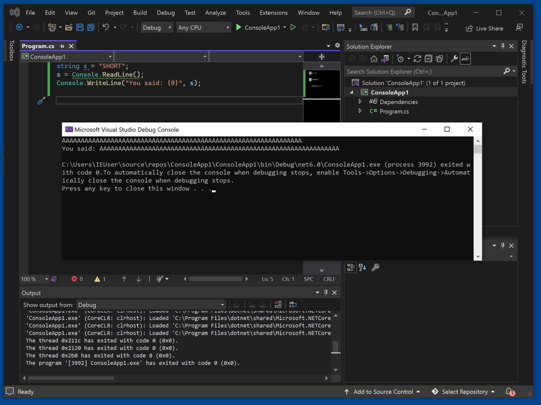
C would have crashed with a buffer overflow, but C# DOT NET doesn't. Rather than inserting the long string into the space reserved for a short string, it creates a new string with the proper size.
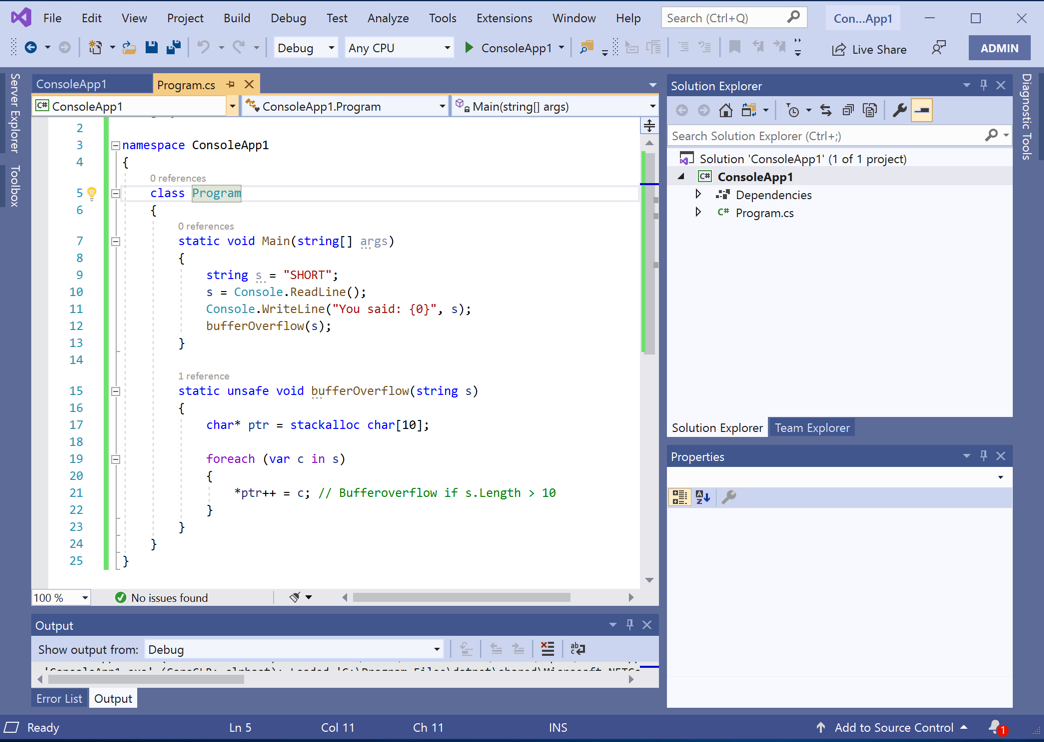
using System;

namespace ConsoleApp1
{
    class Program
    {
        static void Main(string[] args)
        {
        	string s = "SHORT";
			s = Console.ReadLine();
			Console.WriteLine("You said: {0}", s);
			bufferOverflow(s);
        }

		static unsafe void bufferOverflow(string s)
		{
		    char* ptr = stackalloc char[10];

		    foreach (var c in s)
    		{
        		*ptr++ = c; // Bufferoverflow if s.Length > 10
    		}
		}
    }
}
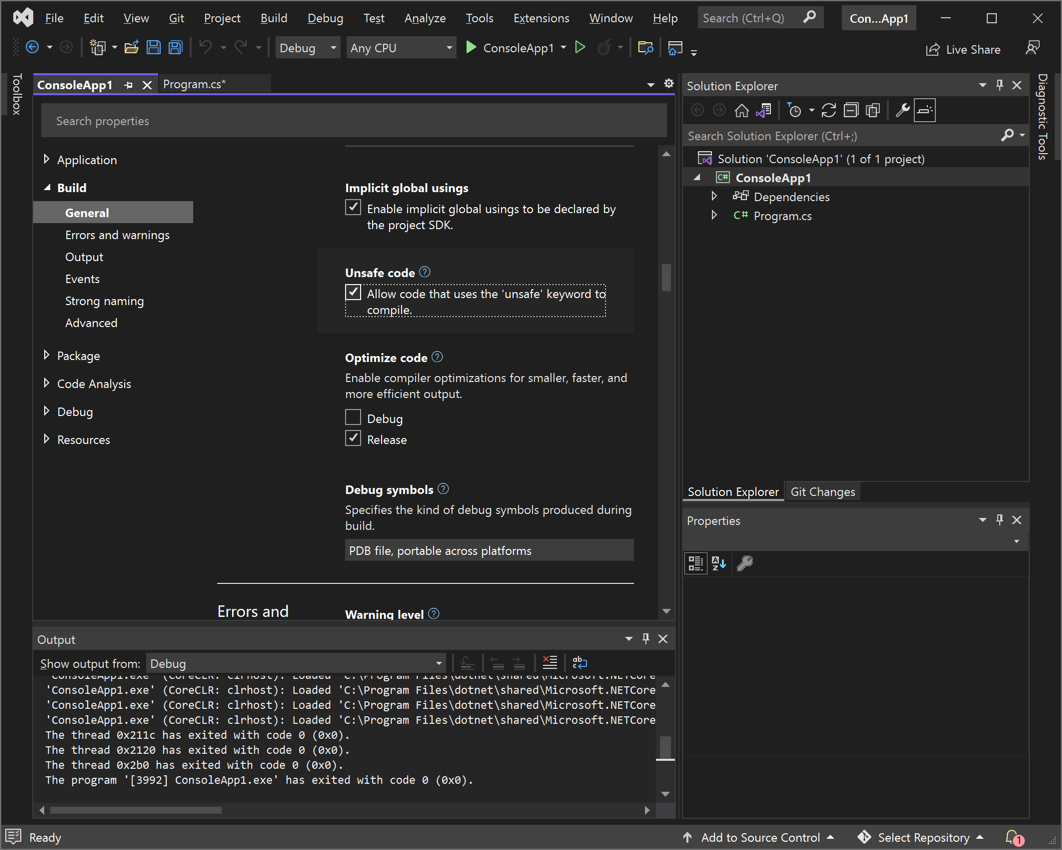
From the menu, click Project, "ConsoleApp1 Properties".
On the left side, click the Build tab. Check the "Allow unsafe code" box, as shown below.
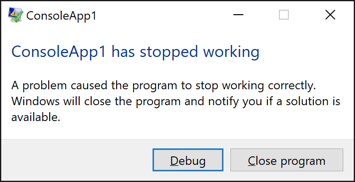
Flag ED 330.1: Crash Message (10 pts extra)
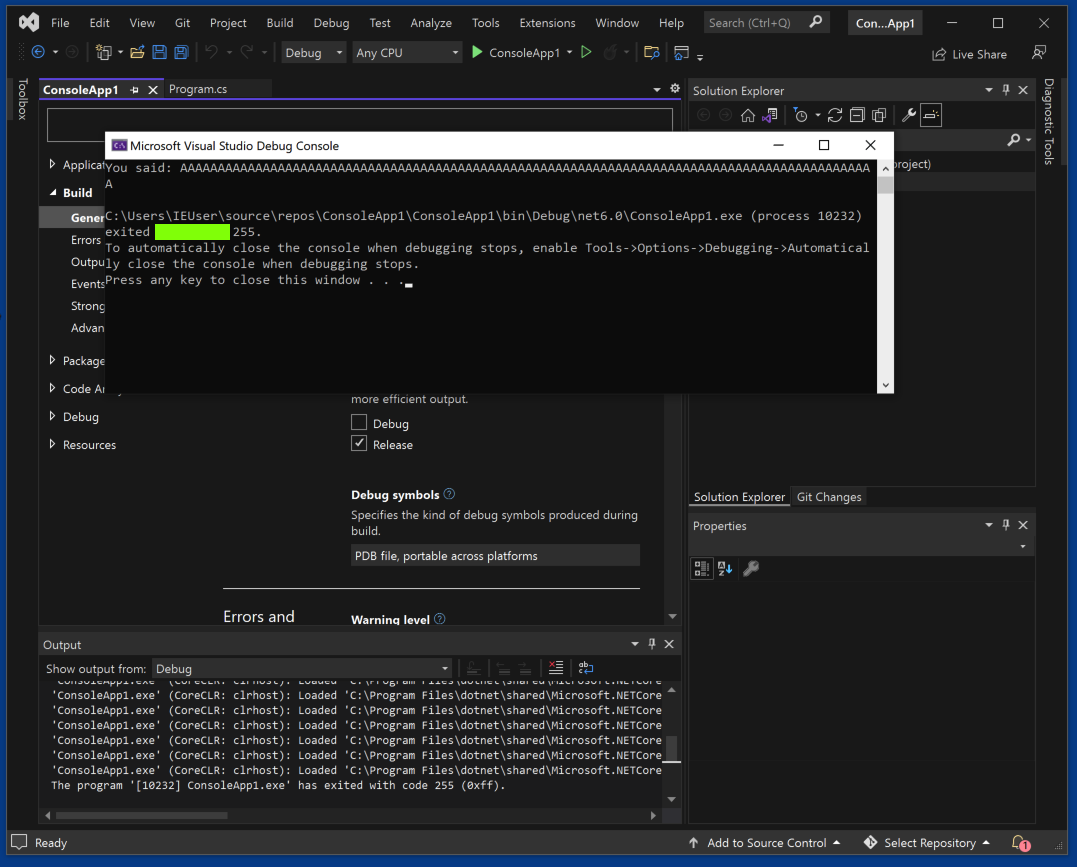
At the top center, click the green-arrow button labelled ConsoleApp1.The program compiles and runs, opens a "Microsoft Visual Studio Debug Console" window. Enter a long string of AAAAAA characters into that window and press Enter.
If a "ConsoleApp1 has stopped working" box pops up, as shown below, click the "Close Program" button.
The program crashes, as shown below.
The flag is covered by a green rectangle in the image below. You may see a number other than 255, but that's OK--the flag is the word before the number.
Otherwise, launch Visual Studio from the Start button.
In the "Get Started" page, click "Create a new project".
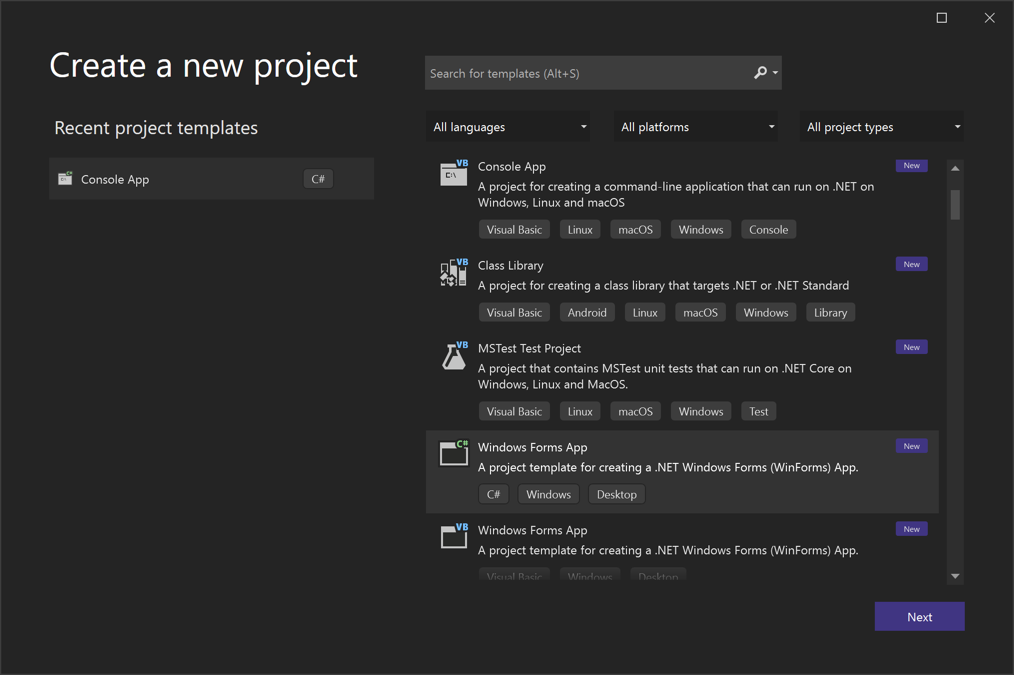
In the "Create a new project" page, scroll down and click "Windows Forms App", as shown below. Then click Next.
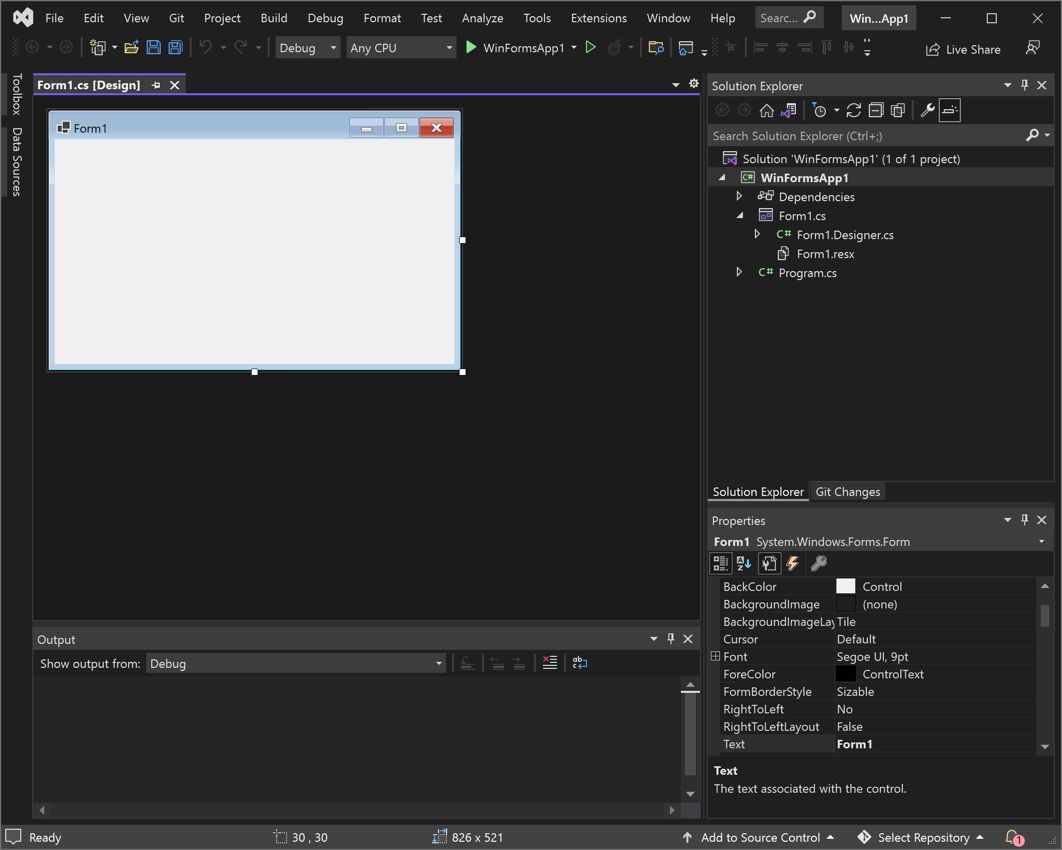
In the "Configure your new project" page, click Next. Click Create.
Your app appears, with an empty "Form1" window, as shown below.
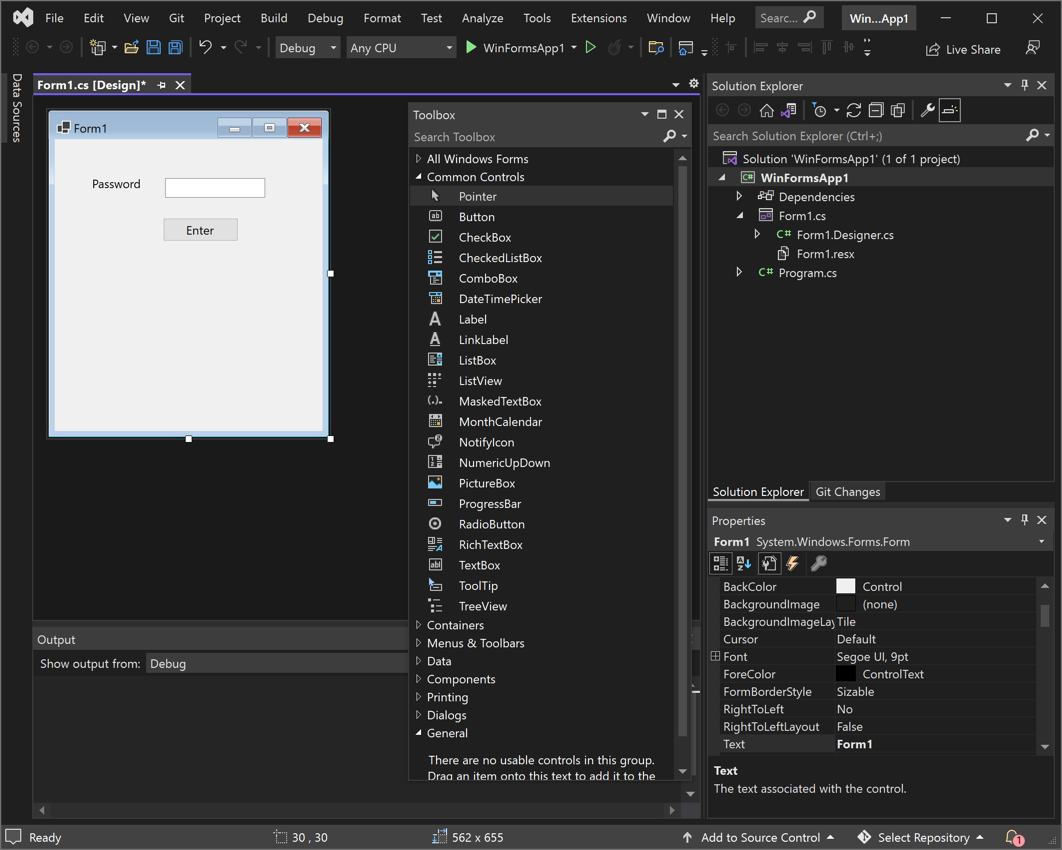
In the Toolbox, expand "Common Controls".
Follow these steps to add three controls to your form, as shown below.
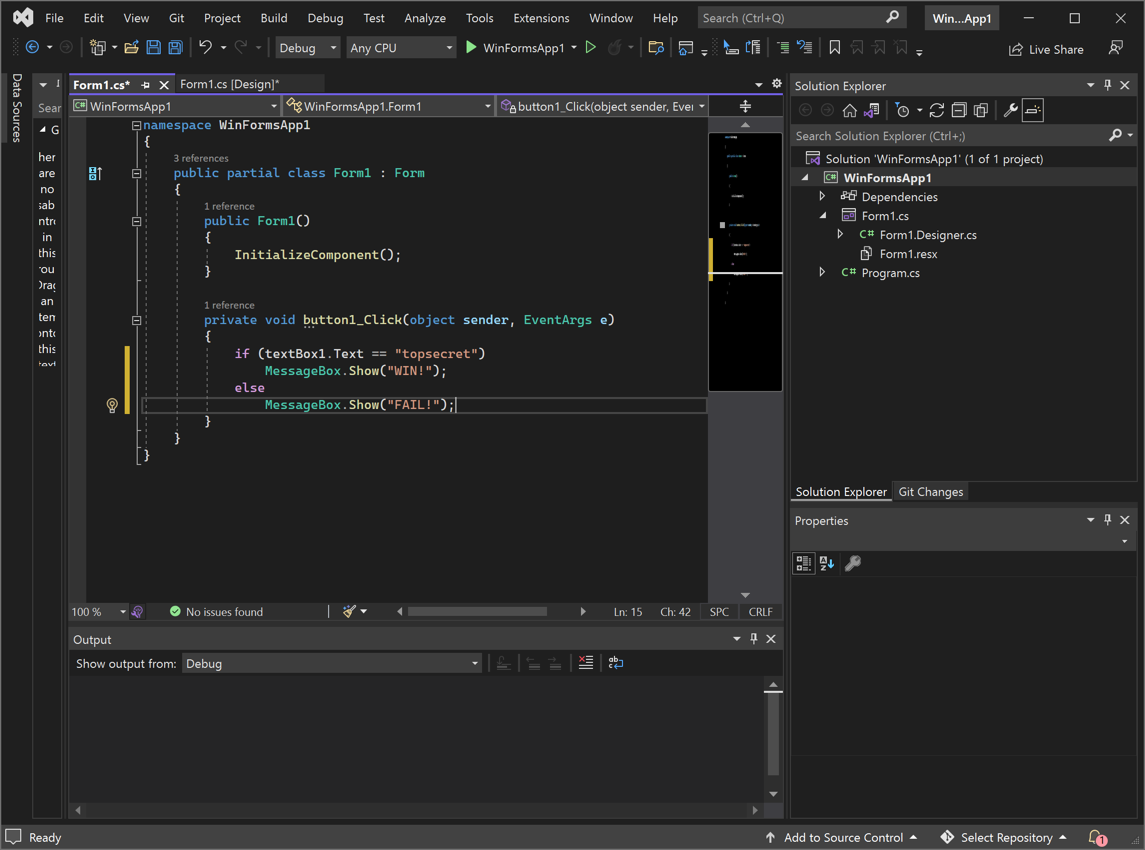
Add this code, as shown below:
if (textBox1.Text == "topsecret")
    MessageBox.Show("WIN!");
else
    MessageBox.Show("FAIL!");
Your form appears, as shown below.
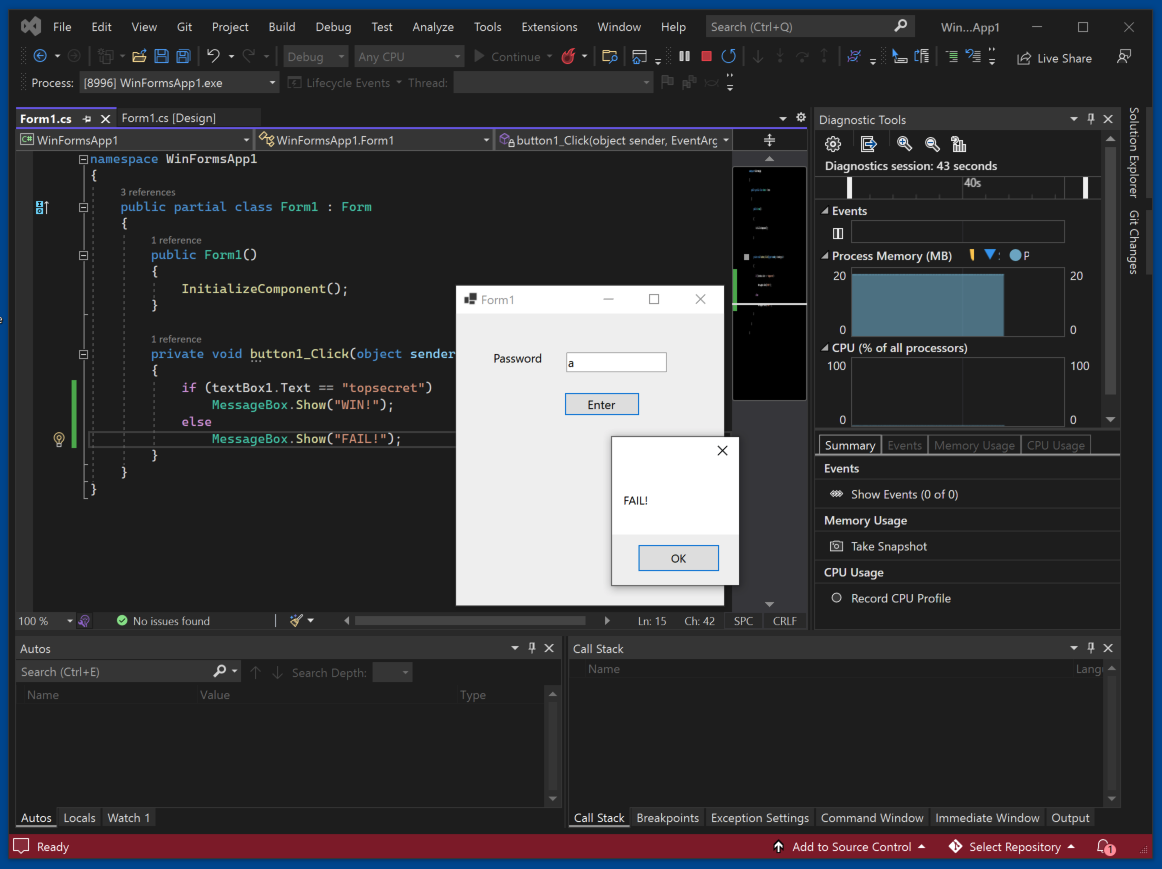
Enter a password of a and click the Enter button.
A box pops up saying "Fail!", as shown below. Click OK.
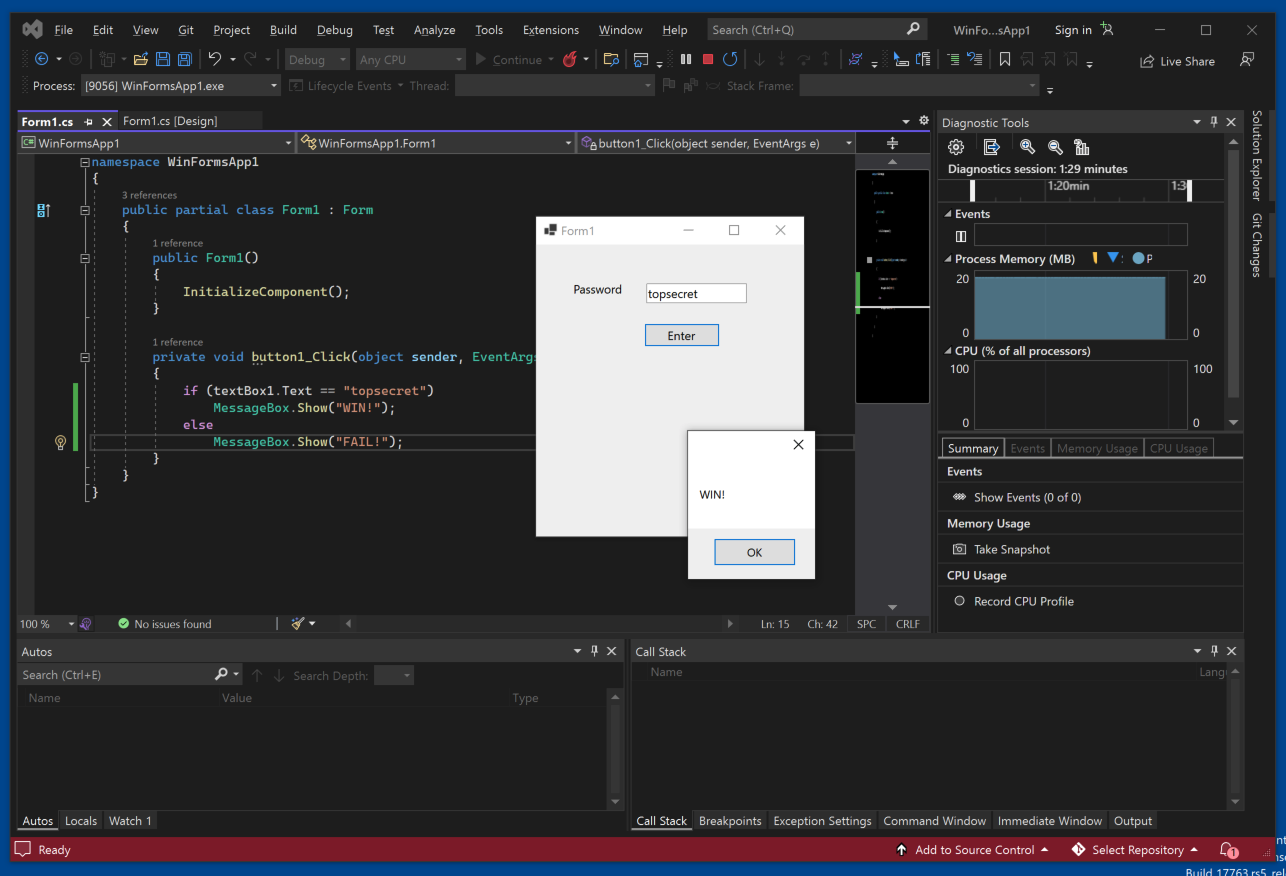
Enter a password of topsecret and click the Enter button.
A box pops up saying "WIN!", as shown below. Click OK.
From the menu bar, click Debug, "Stop Debugging".
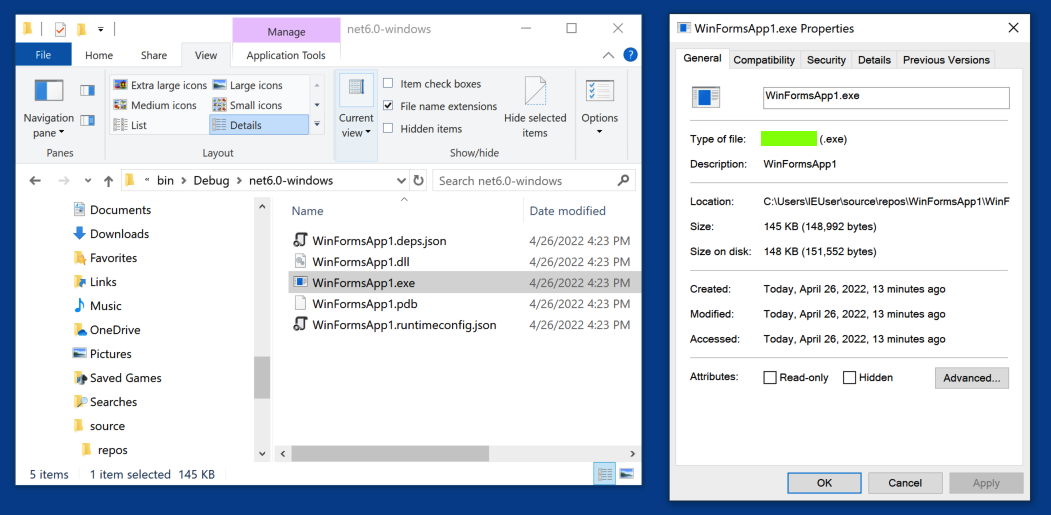
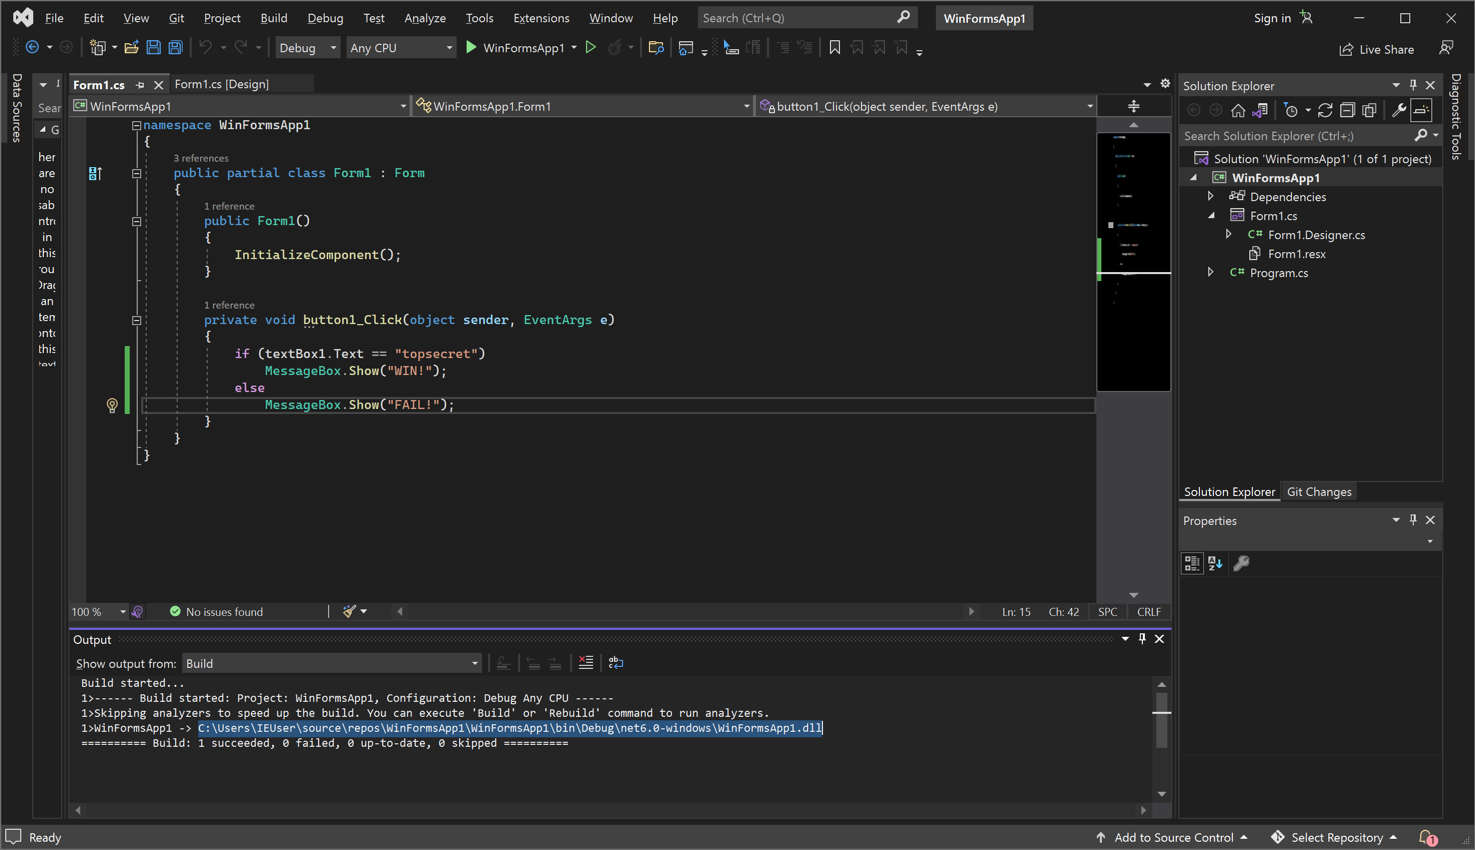
Note the location of the WinFormsApp1.dll file, highlighted in the image below.
Flag ED 330.2: App Properties (10 pts extra)
Navigate to the EXE file you built.Right-click it and click Properties.
Find the word covered by a green box in the image below. That's the flag.
Are buffer overflow exploits possible in C#?
https://docs.microsoft.com/en-us/visualstudio/get-started/csharp/tutorial-wpf?view=vs-2019
Step 1: Create a Windows Forms App project
Design view does not show in visual studio 2019 community
Posted 10-15-19
Updated to allow Win 10 4-26-2021
Updated for Visual Studio 2022 4-26-22
Updated to link to the Visual Studio 2019 instructions 4-4-23
Video added 4-5-23